Little Shop of Horrors Part 3
For the city scene I created a range of different models, below I list them and brife description about it and how I created it.
Bench
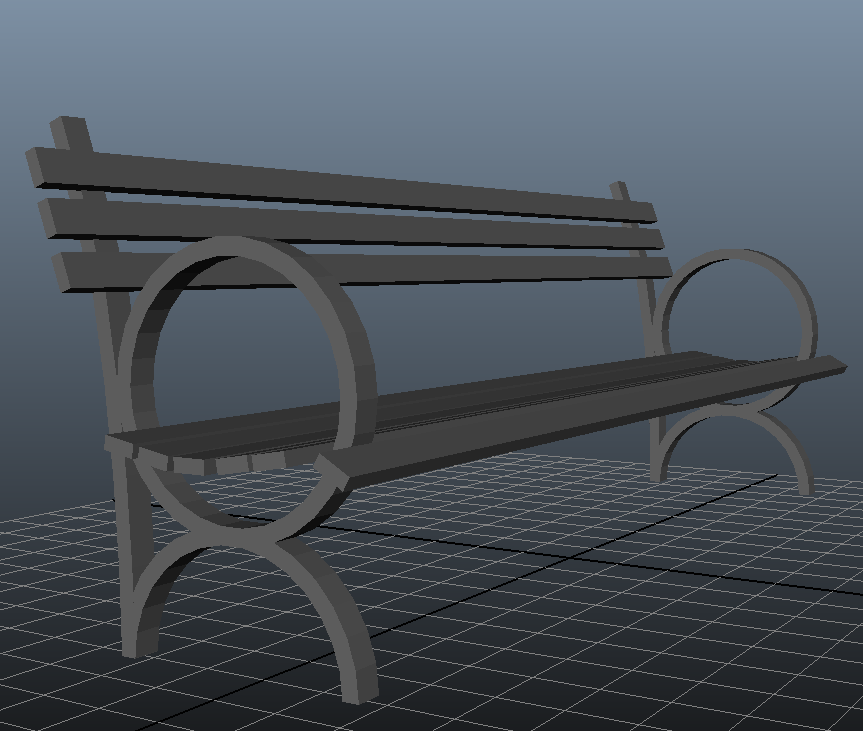
To create the bench I used the Polygon Pipe tool to create a very short pipe with low thinness to create the lops on the legs, for the back support of the legs I used the same tool but made the loop diameter really large and removed the excess part of the loop.
The seat part of the bench was just simple cubes.
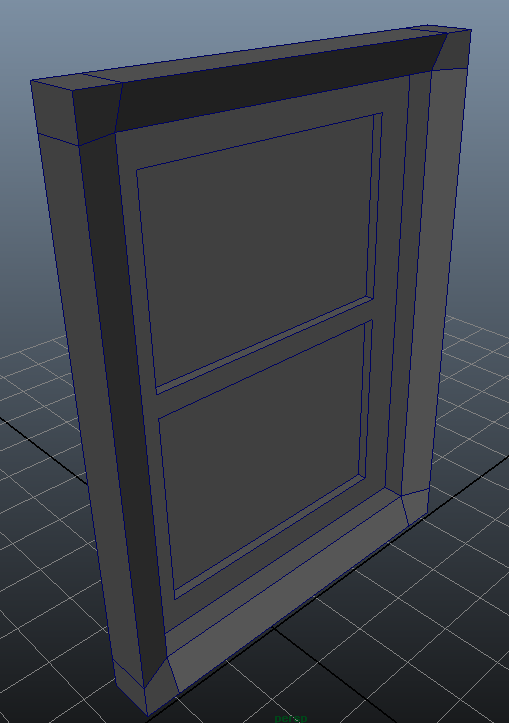
Door
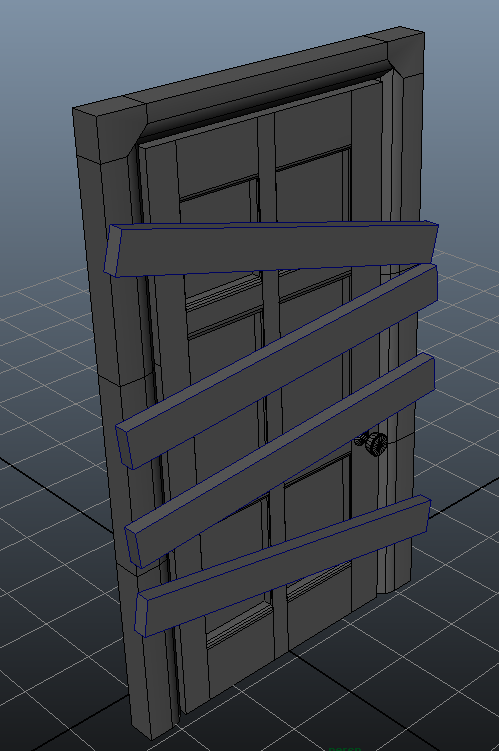
The door stated as a polygon plane and I used the extrude tool to added depth to it by extruding some of the faces both outward and inwards, also I selected some of the edges and moved them with the move tool. I also use the bevel tool on some of the edges to round them off.
The door handle I made using a cylinder and by manipulating the edge loops and shrinking them using the scale tool.
For the boards that cover the door I use the cube tool.
Fire Hydrant
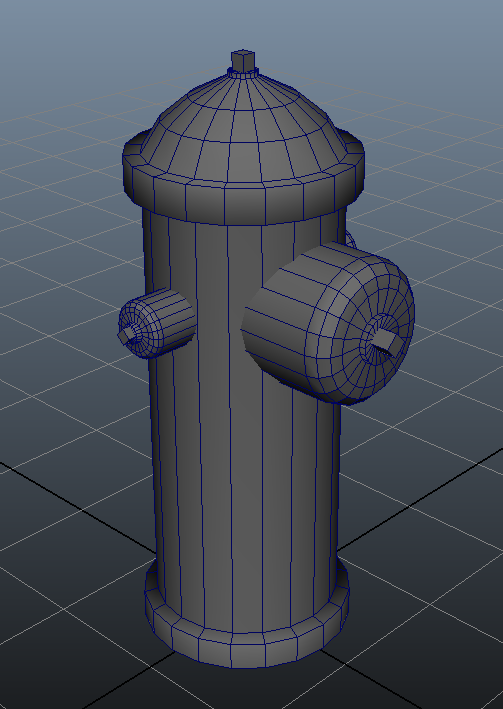
For the fire hydrant I used a cylinder and manipulated the edge loops with the scale and movement tools to achieve the shape of the hydrant including the dome on top.
I used the same technique for the two side and front parts, then finished it off with some cubes for the tips.
Ladder
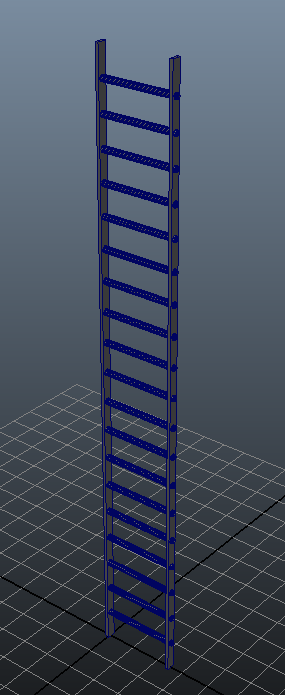
The ladder was simply made with two upright cubes and a cylinder that I duplicated using the Duplicate special tool to distribute the duplicated cylinder evenly along the ladder.
Lamp Post
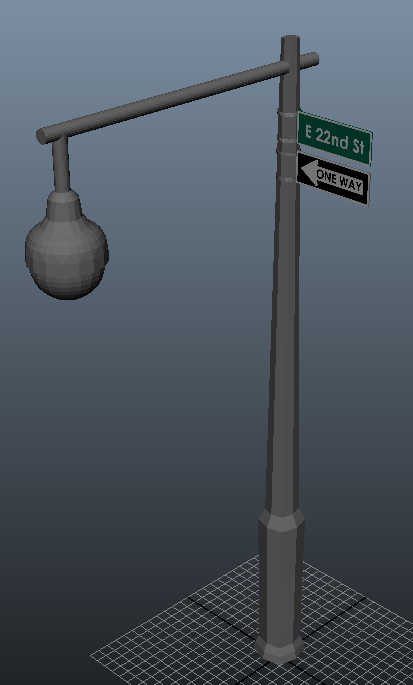
For the lamp post I used the cylinder tool again but with a lower subdivisions to make it octagonal and then modify the edge loops with the move and scale tools.
For the lamp I use a sphere for the light and for the housing I create a curve and rotate it around an axis the resulting object into a poly mesh.
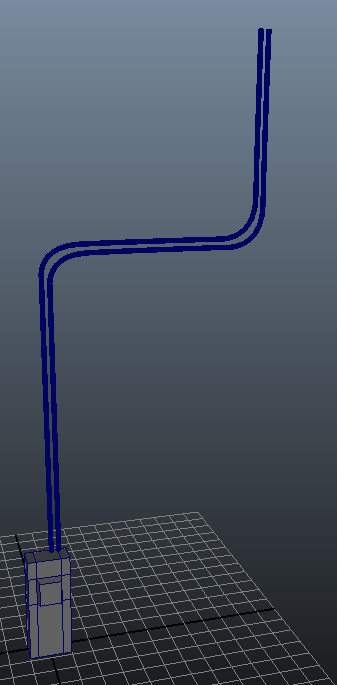
Pay Phone

This was one of the more detailed models, I have tried to keep my models basic. I started with the booth that was a cylinder that I stretched into shape by selecting half of the cylinder and moving it up and then sideways, the base is just a simple cube.
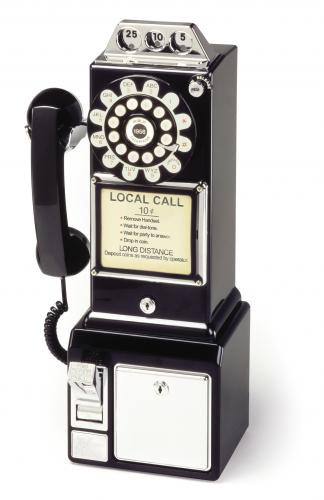
For the phone I modelled it on a image I found while searching for 1960 payphones, I started with a cube and manipulated the edge loops using the scale and move tool and also used the bevel tool on the edges.
For the number dial I used a cylinder and modified the edge loops using the movement tool to bring them out.
The coin slots on the top I started with cube and used the movement tool to modify the edges then use a cylinder to boolean the coin holes out of the cube.
The phone handle started with a cube and I adjusted the edges and faces into a basic phone shape then used the smoothing modifier on it to make it more rounded.
For the cable I used a curve and extruded a cylinder along it.
Power Transformer
The power transformer is just a cube and some cylinders extruded along a curve.
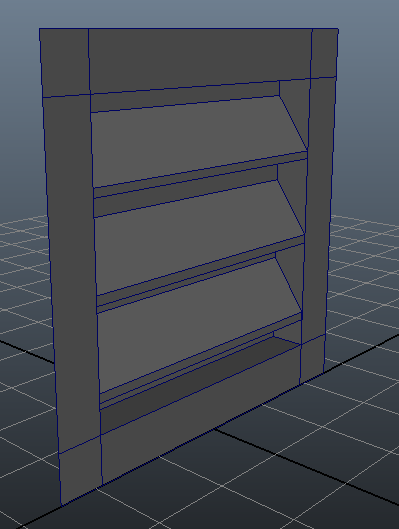
Steps
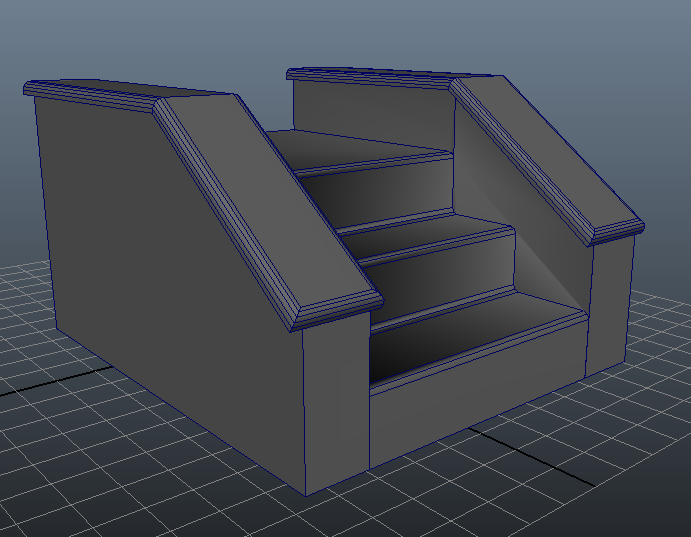
The steps I started with a cube and used a lot of manipulating the edges and faces with the movement and scale tools as well as the extrude tool and bevel tool.
Trash Can
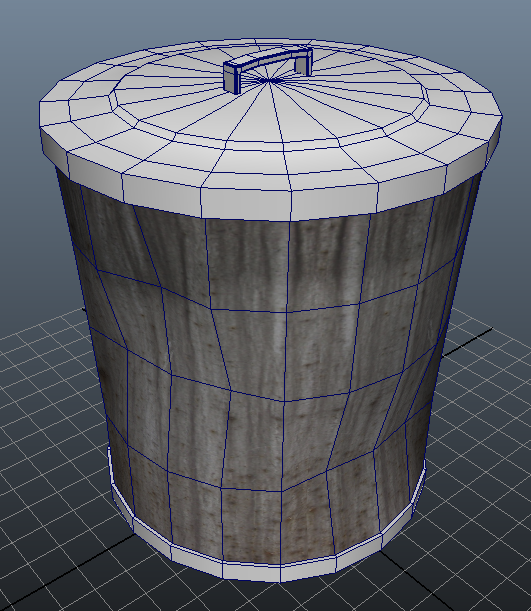
The trash can starts as a cylinder that I use extrude the face loops to create the bottom rim and the lid, then use the movement tool to select and move the edge loops on the top to form the lid, the handle is a cube that I manipulated into shape and used the bevel tool on.
Vent
The vent I start with a poly plane and extrude some face backward into it then shift them upwards to achieve the angle.
Warehouse Door
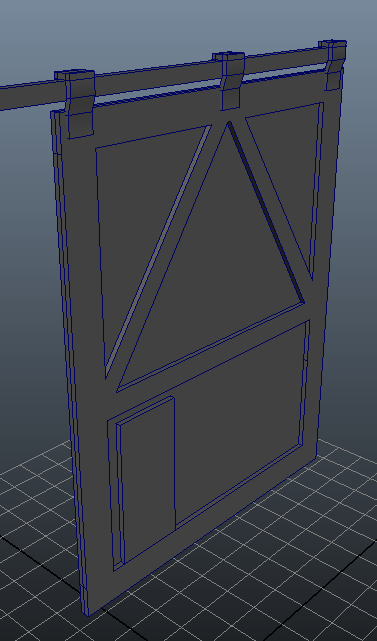
The warehouse door I start with a cube and then use the cut faces tool wile selecting faces to add in extra edges, then use the extrude tools to extrude the faces back into the object.
The rail the door is hanging on is just a cube, and the hinges are made from a cube that has been manipulated using the move tool.
Window A & B
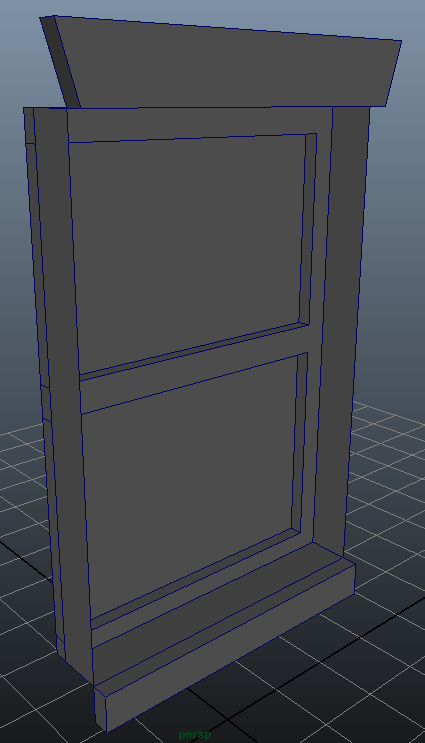
The windows are made from a poly plane that I manipulate using the movement tool on edges and face and the extrude tool.
Little Shop of Horrors Part 4
Nearing the end of the project and approaching the deadline it came to the point where we needed to gather all of the groups work into one Maya project, I volunteered top do this for my group and so set up a shared Dropbox folder for anyone to upload there work to I started importing everyone work into one project making sure the objects textures where working and they had relative links set up.
But before The dead line Nathan our tutor want to see our work so that he could demonstrate it, but before the work needed to be handed over I lost internet at home so was unable to upload the project file with the groups work.
I contacted my group telling of the problem and that I would try find a way to upload it, while I was working to upload it my group worked to produce there own Maya project with our work in and submitted that before I could get my project uploaded.
Once my internet was back I was able to continue my job of collating all of our groups work into one project and getting it ready for the deadline.