Fluid
This session we took our first look into fluid dynamics, different from particles dynamics in that they produce a more detailed and realistic result when simulating fluid like effects. The task was to create a scene that involved a car traveling around and doing power slides and use fluid dynamics to produce smoke effects from the cars tyres during these slides.
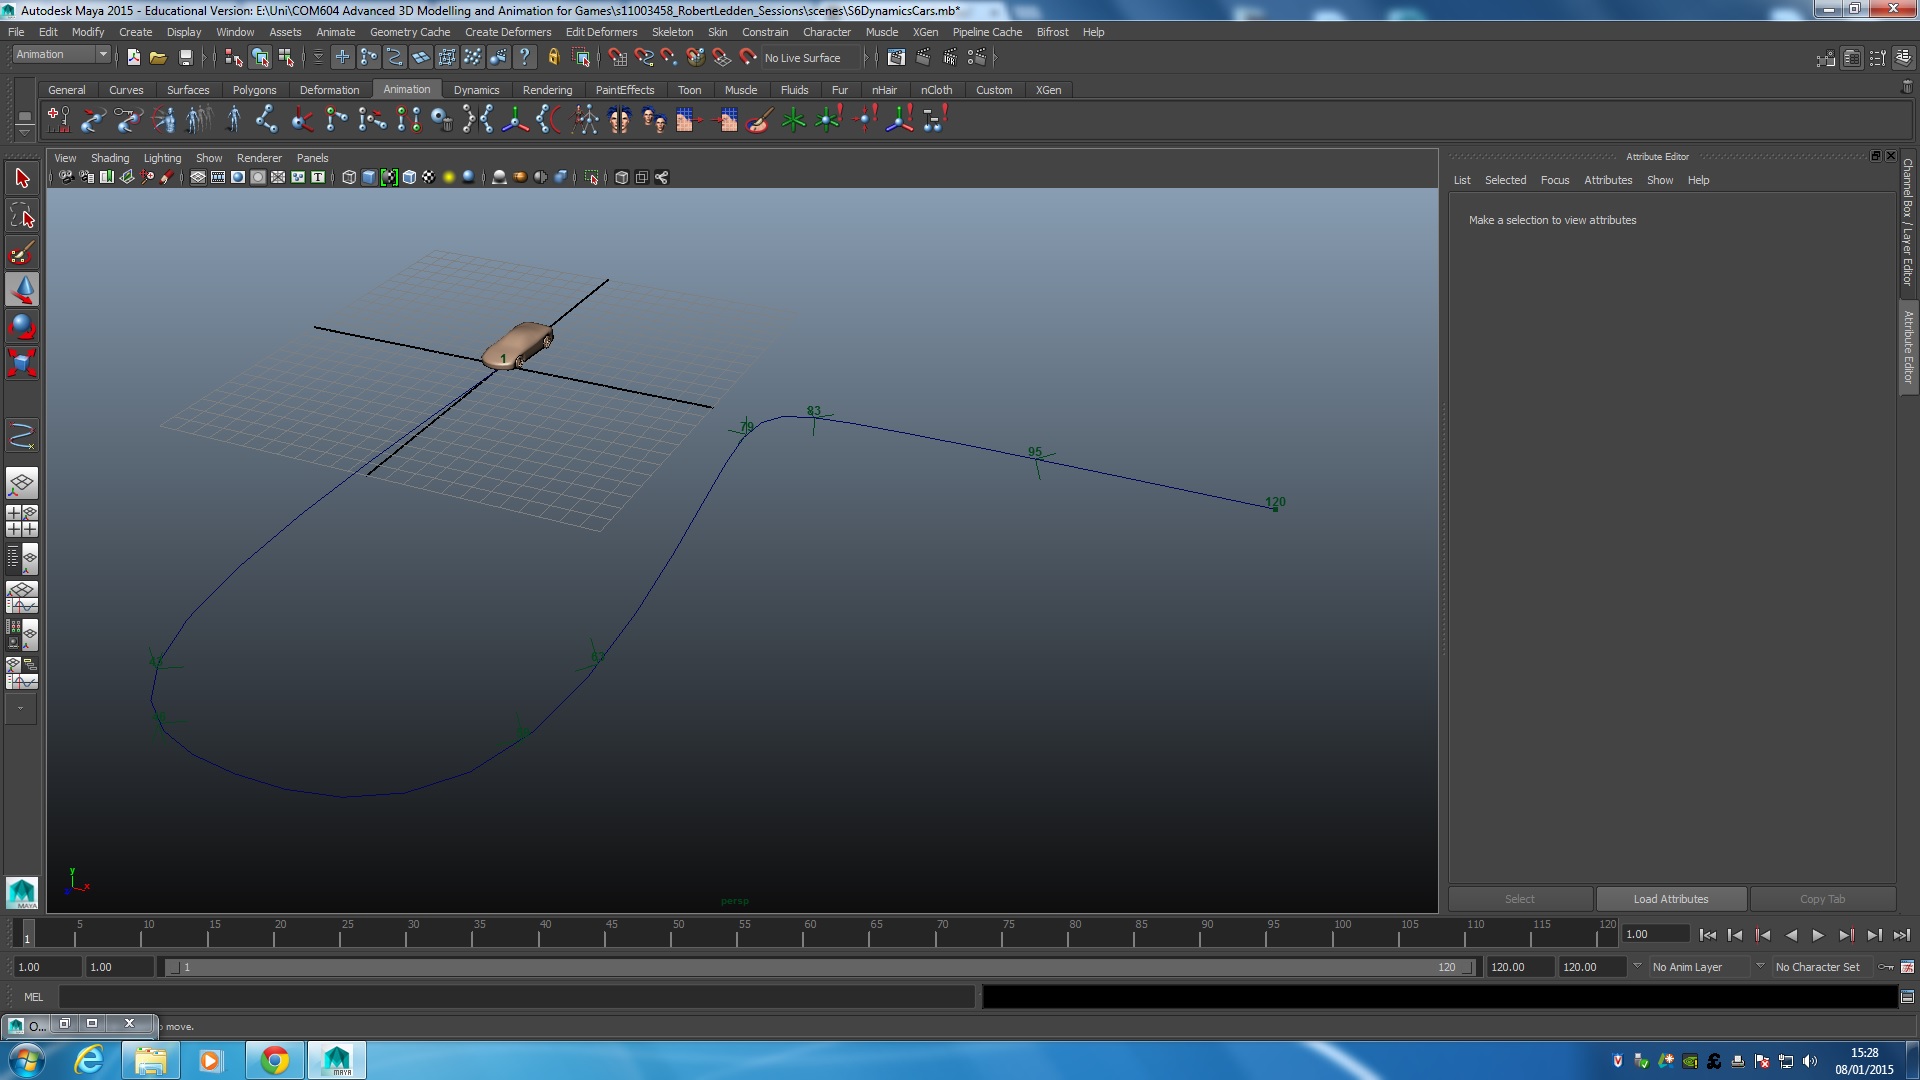
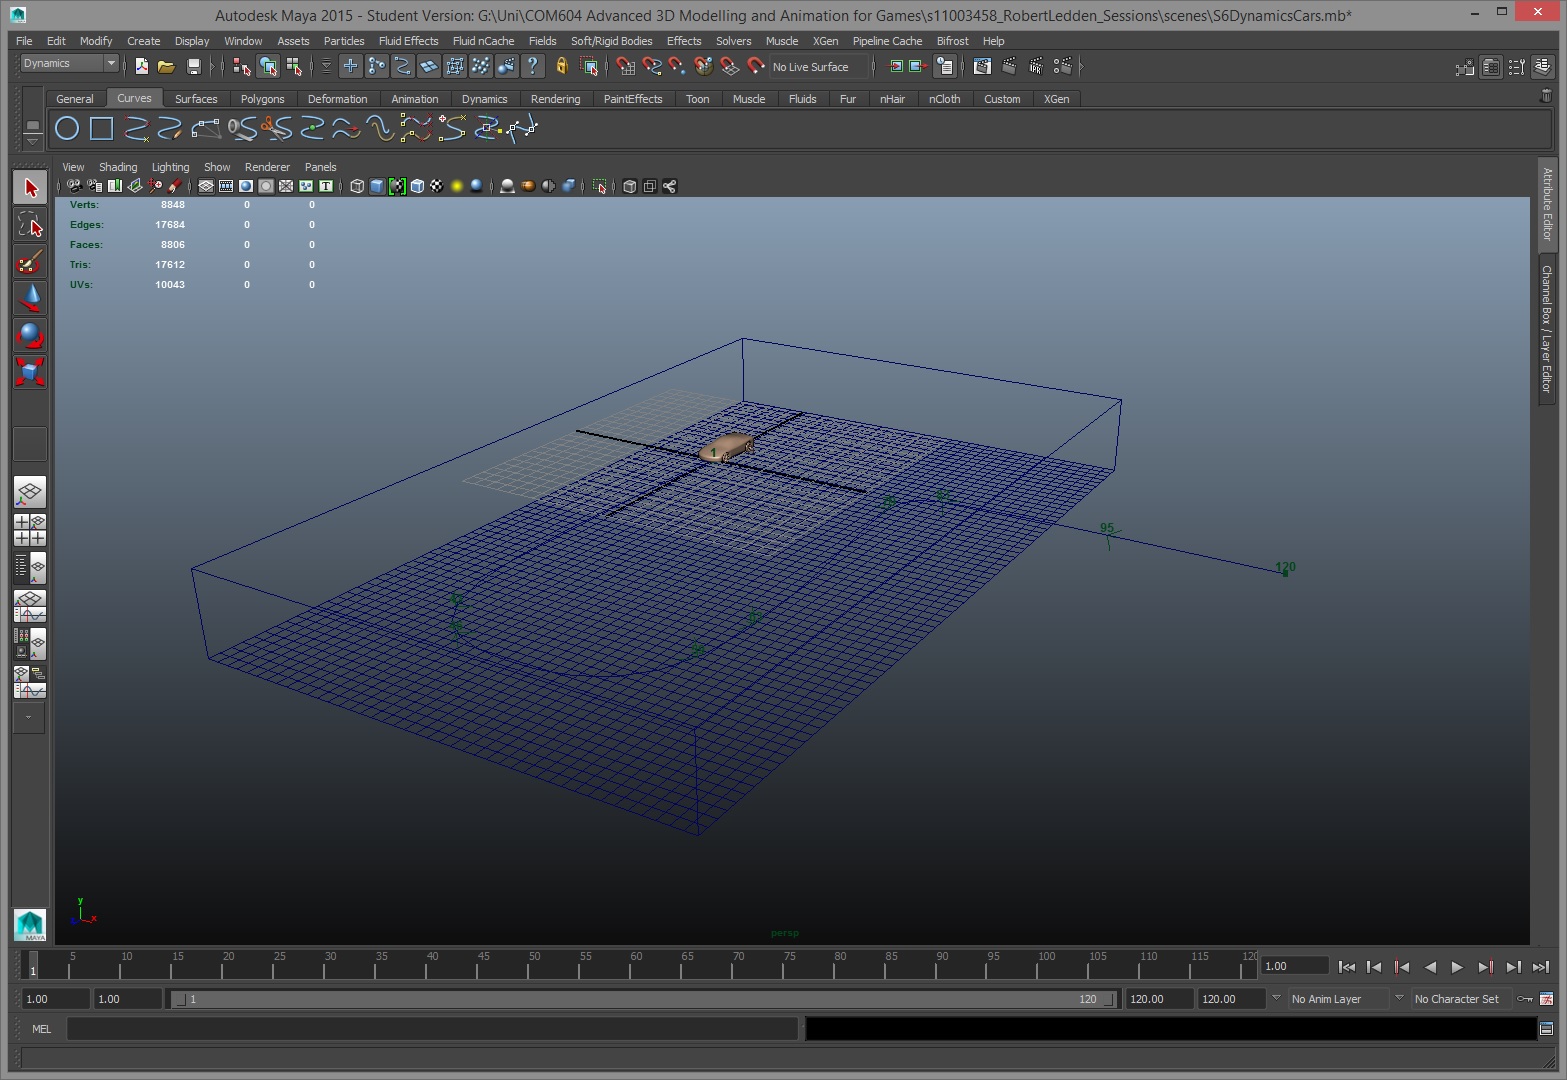
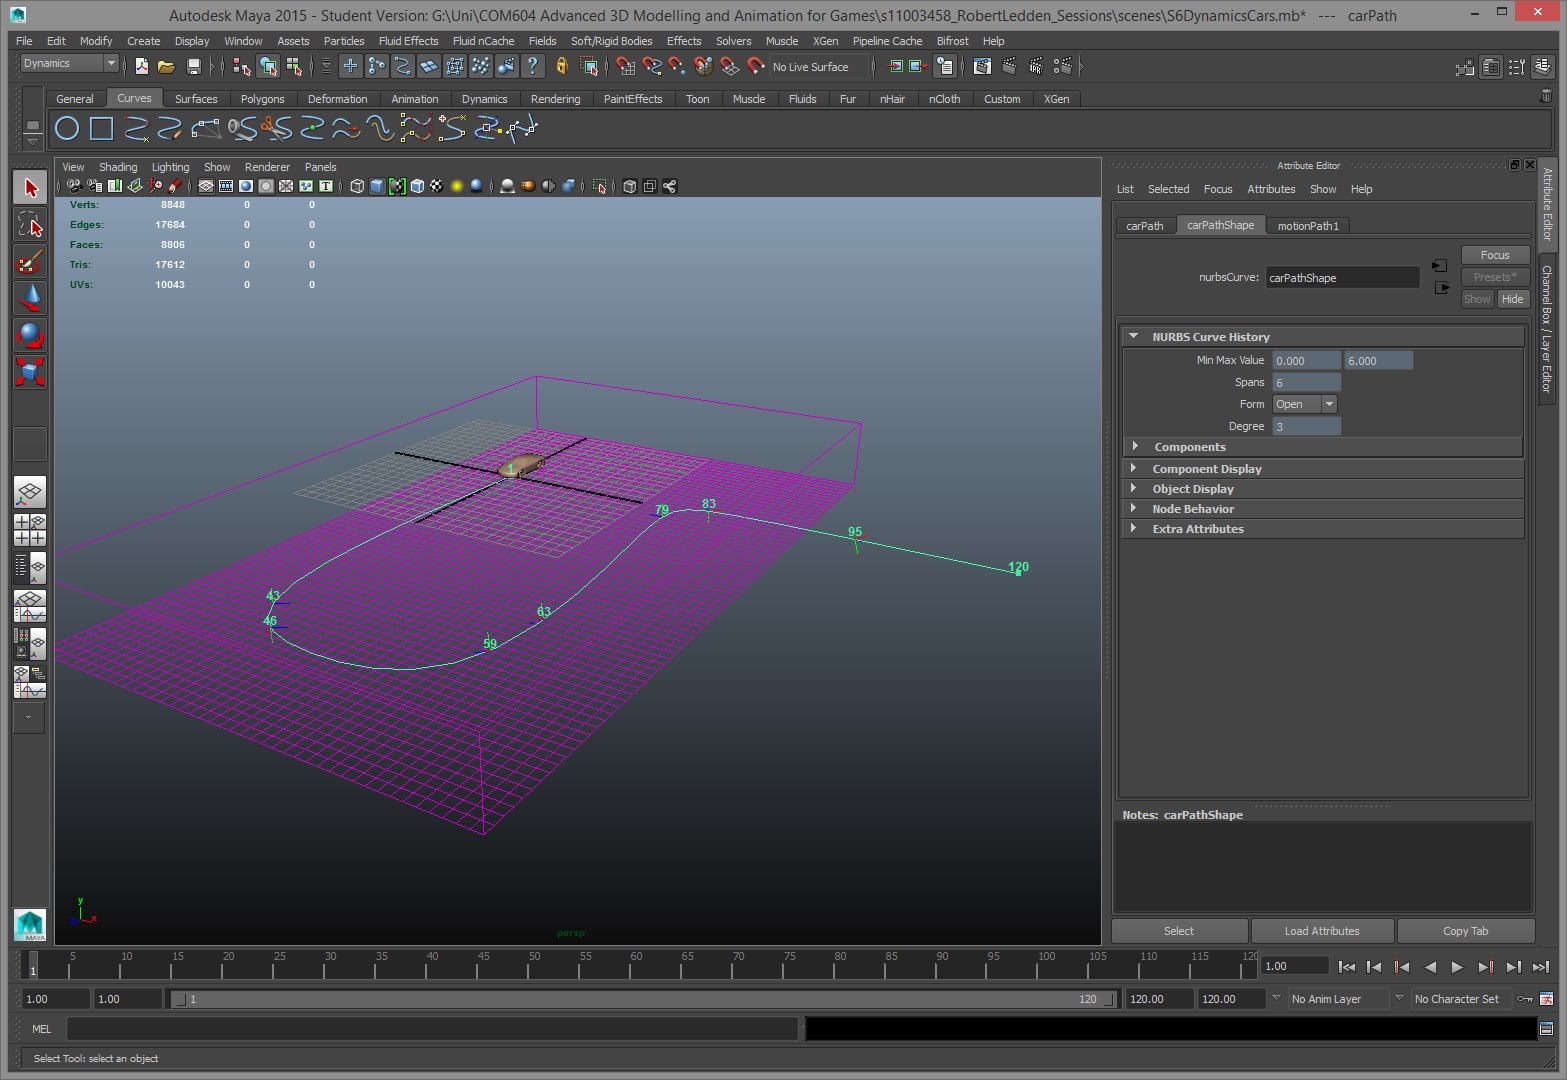
I started by importing a car model from mudbox in to maya then scaling it down to fit the scene, I then create a curve to use as a motion path that the car would travel along. Using this motion path I used keyframes and altered the Twist attribute so that the car goes around the turns sideways.
With the animation for the car in place next was to add the dynamics I created a 3D container that encompassing the whole area that the car would need to produce smoke, next task was to add emitters for each wheel these were then parented to the car so they would follow it around. Finally the last thing to do was to adjust the emitter so they would only produce smoke at the right time around the path, I used keyframes to adjust the emitter rate to achieve this effect.
Additional Task
In addition to the task set during the lesson there was an additional task to be completed, this task was from the book ‘Mastering Autodesk Maya 2013’ from the recommended reading list for this module.
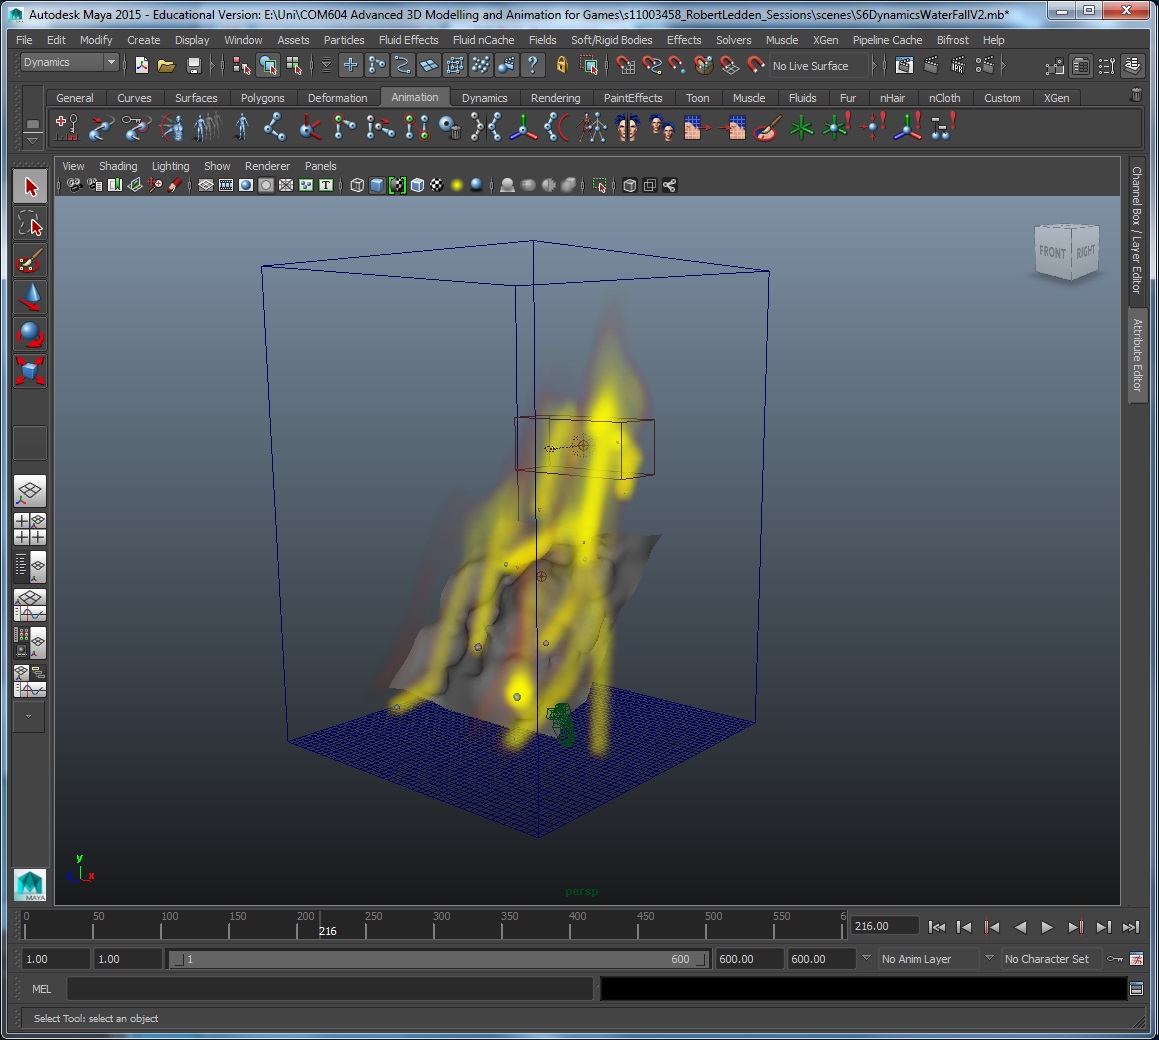
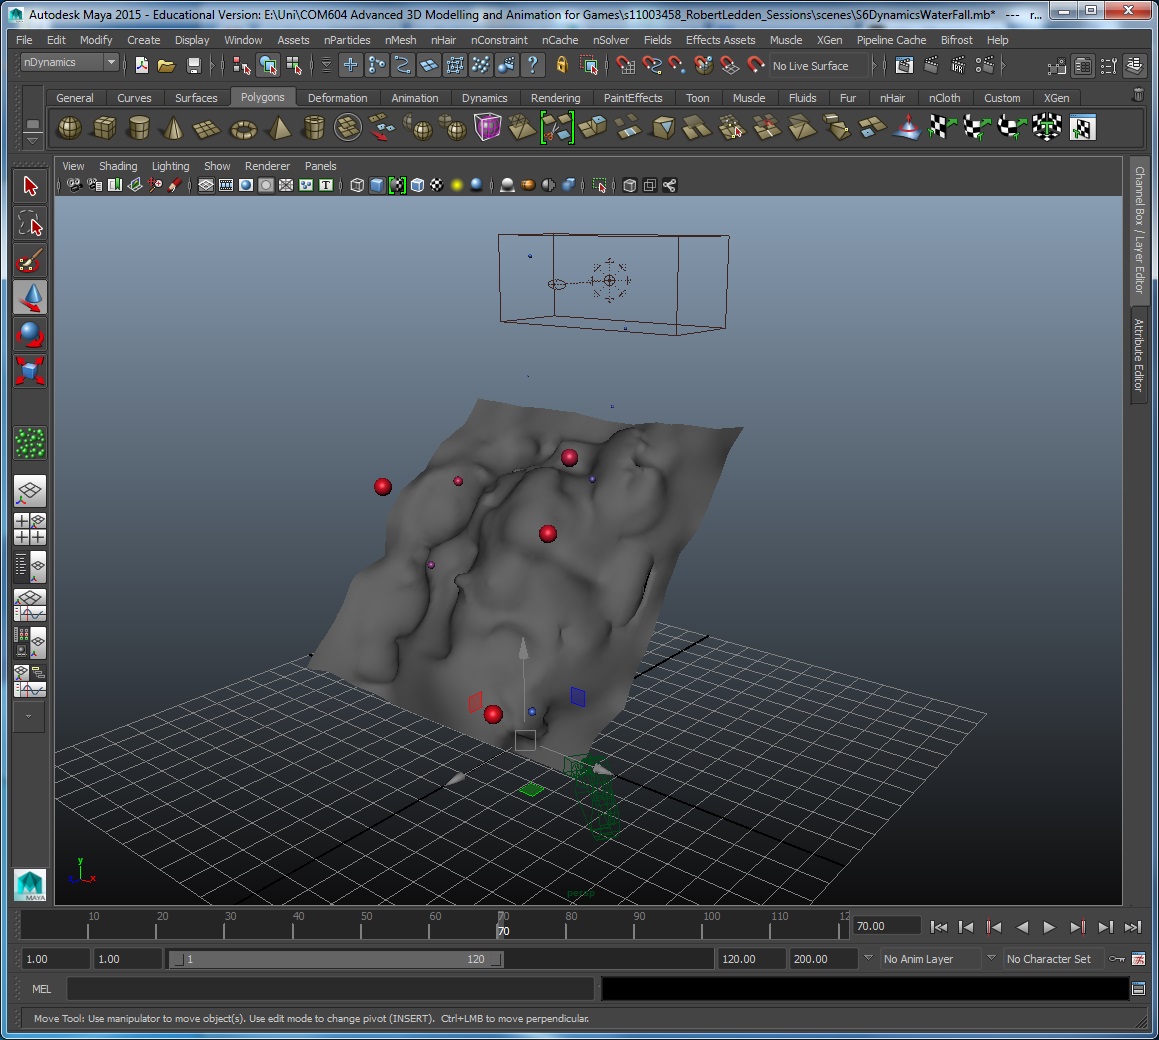
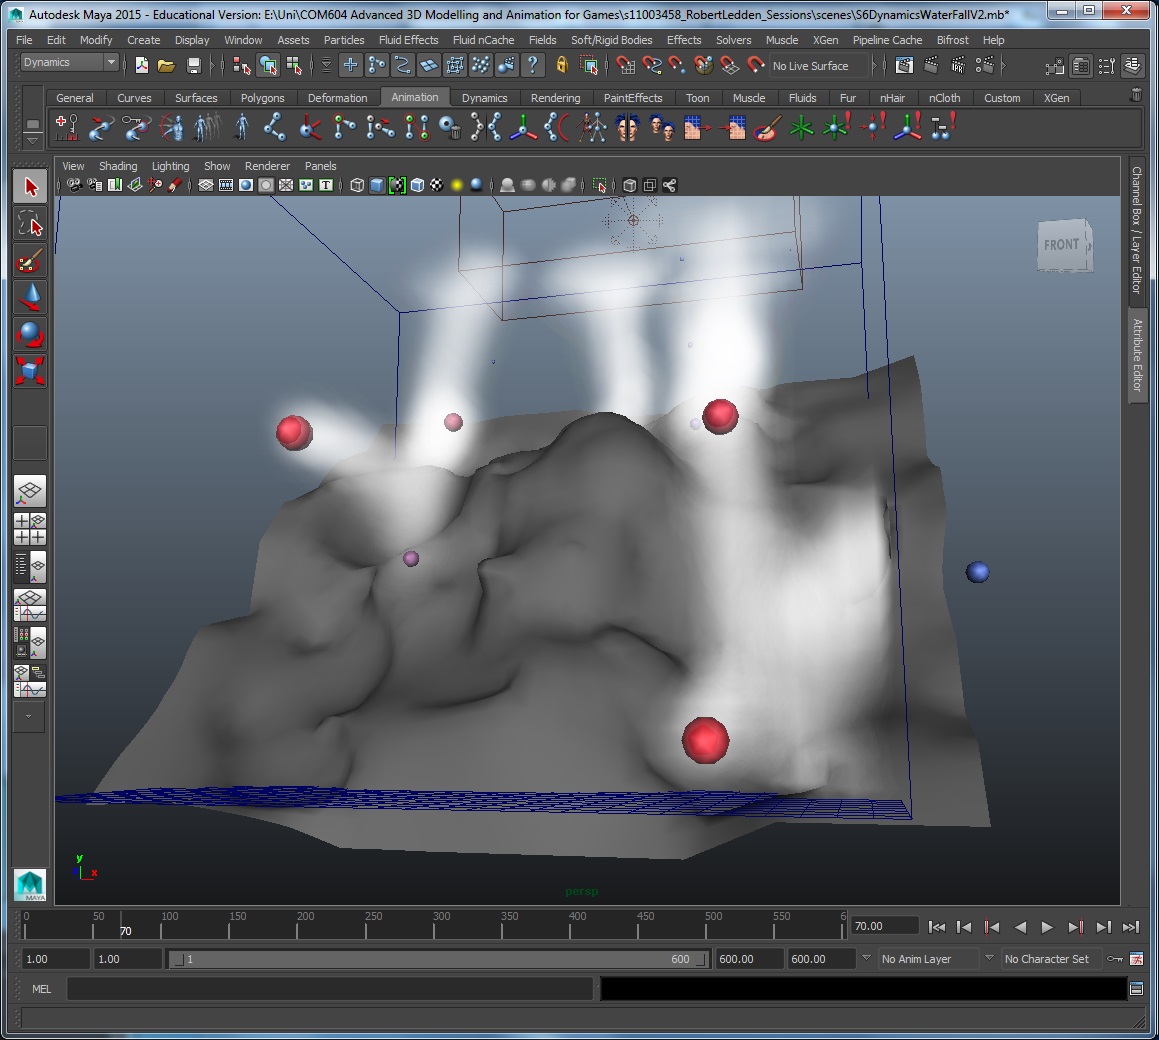
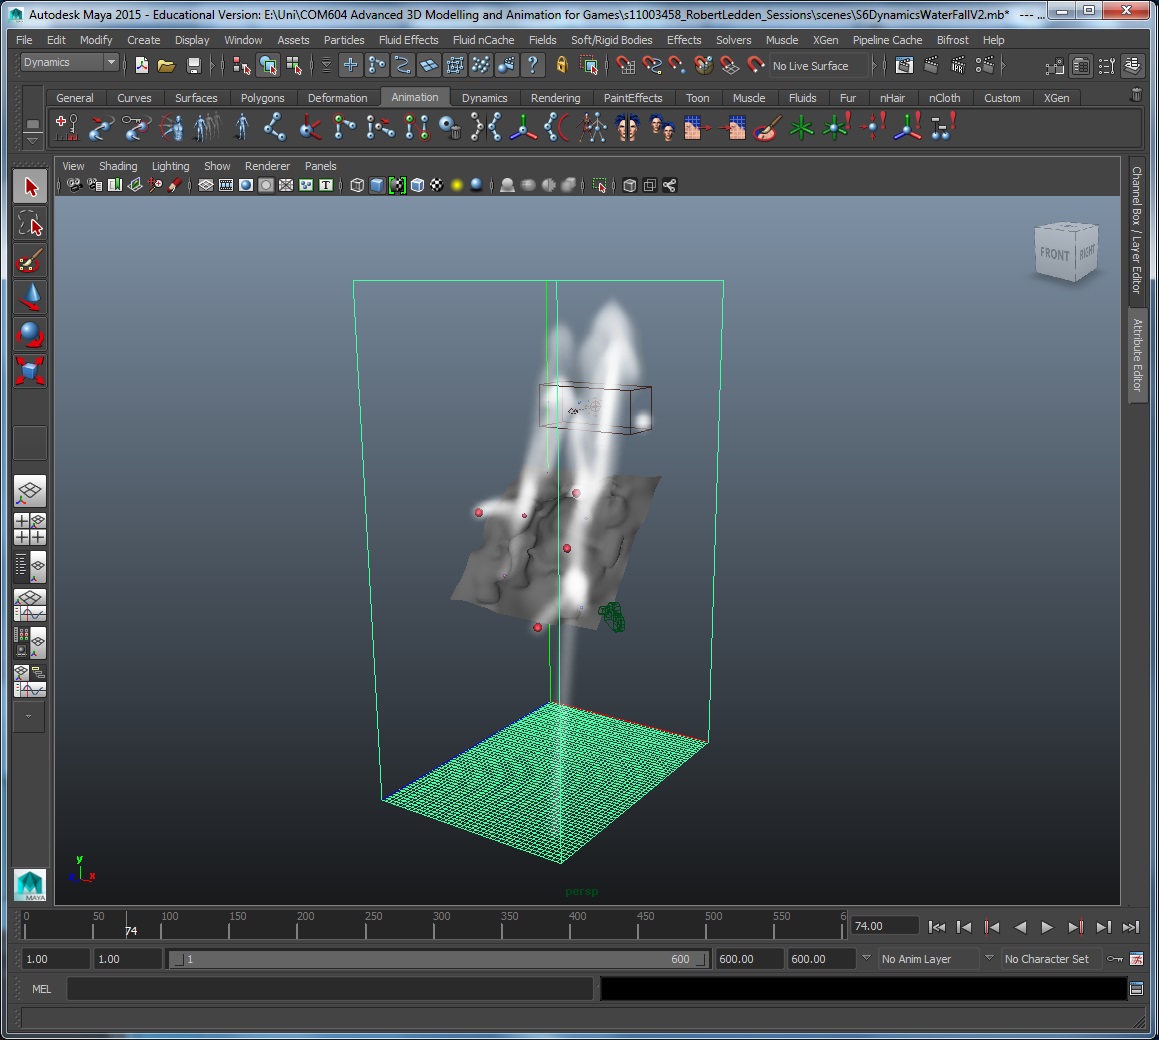
The task was to create a scene similar to the side of an erupting volcano with falling flaming debris. To start this task a scene was provided by the book that had a mesh that would be the side of the volcano and a volume emitter that emitted particles that would collide with the mesh and bounce down the side.
The task involved adding a 3D container over the mesh that would be used to simulate the liquid physics, with this done a emitter was added to the particles that bounced down the mesh that would add smoke trails from the particles. Once this was done some settings on the 3D container where tweaked to give the desired effect.

nCloth
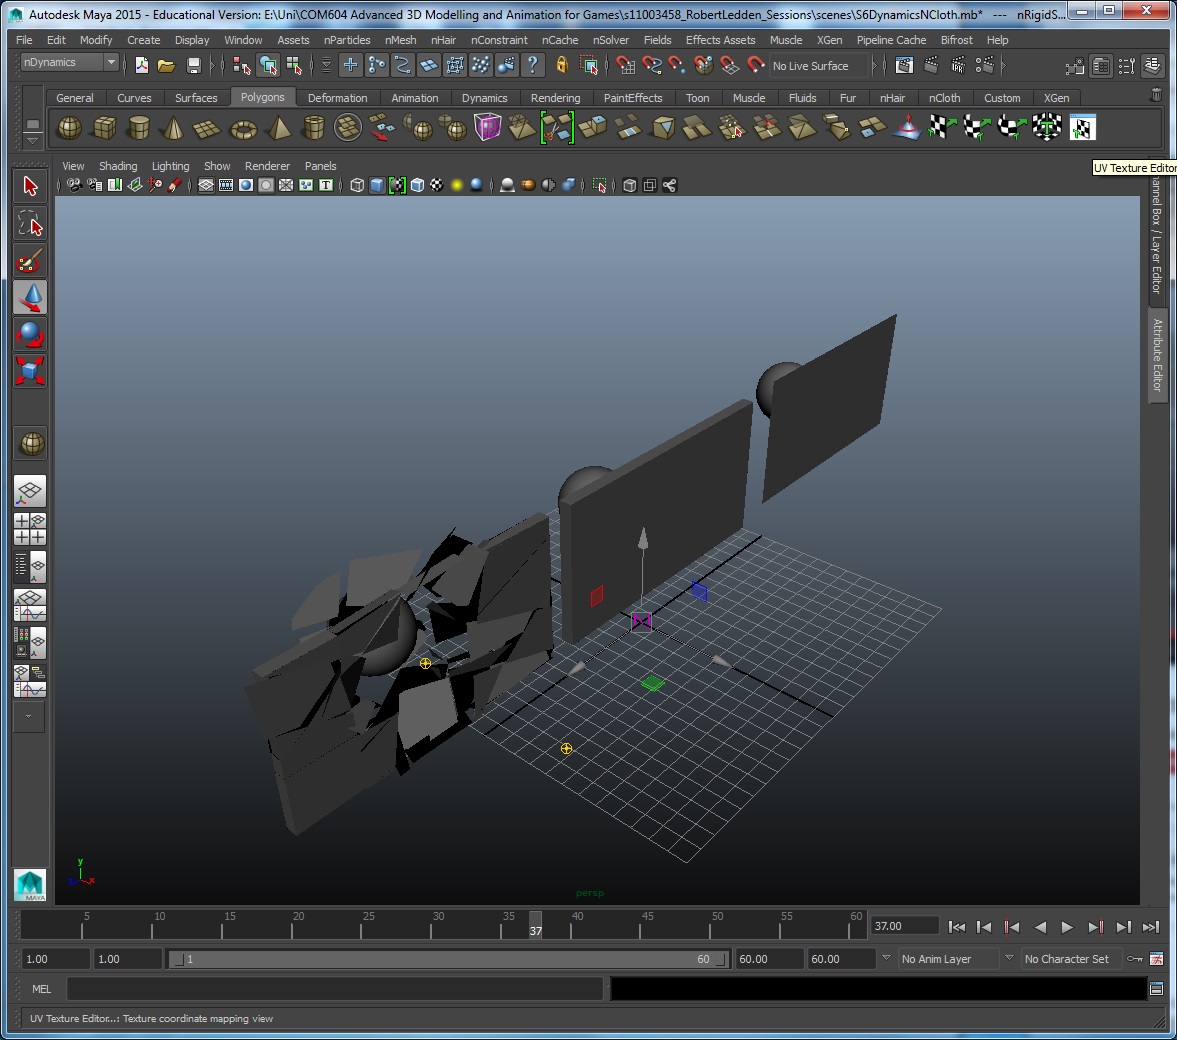
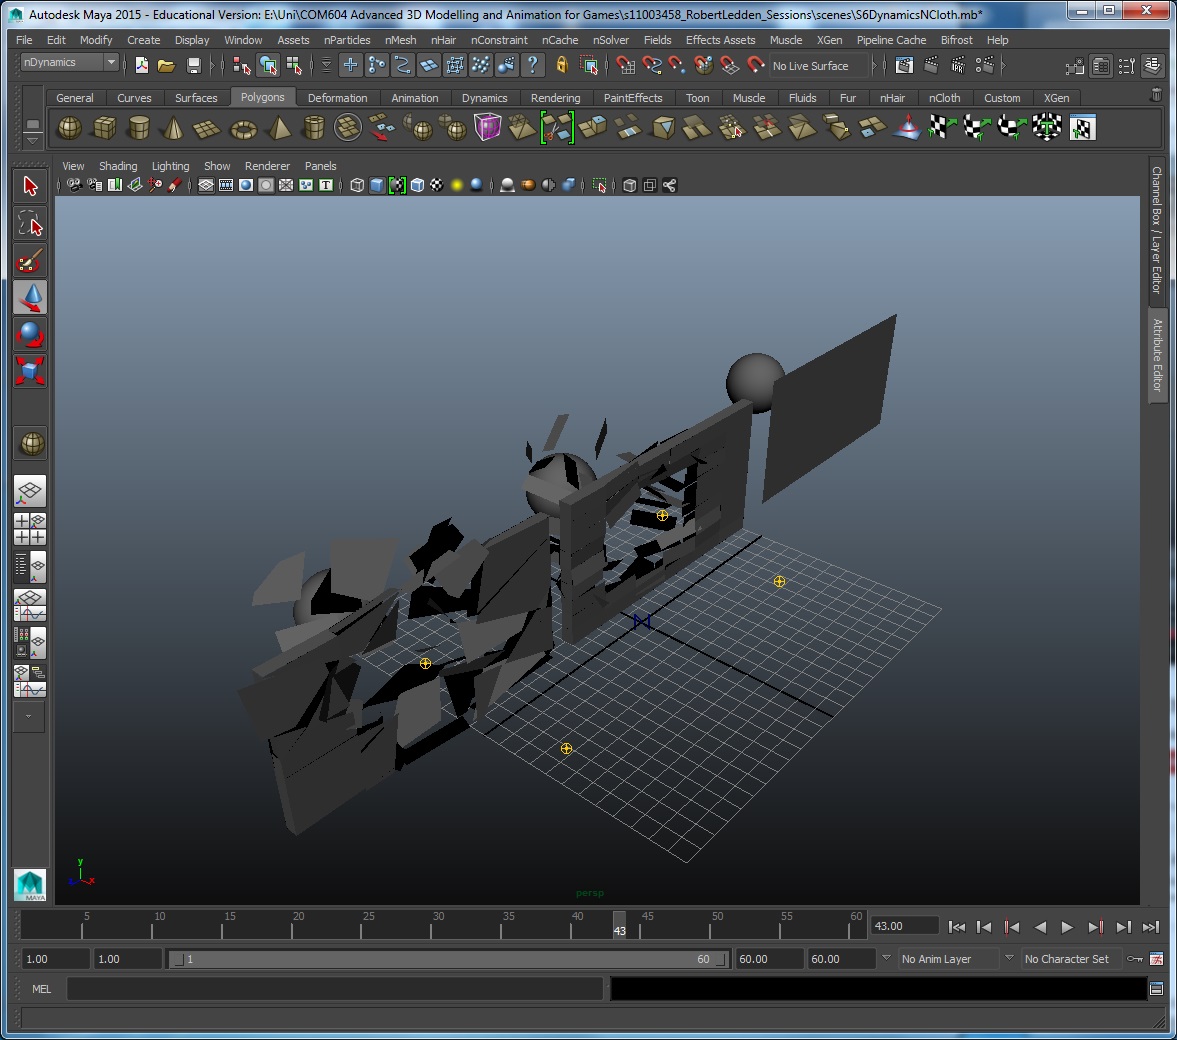
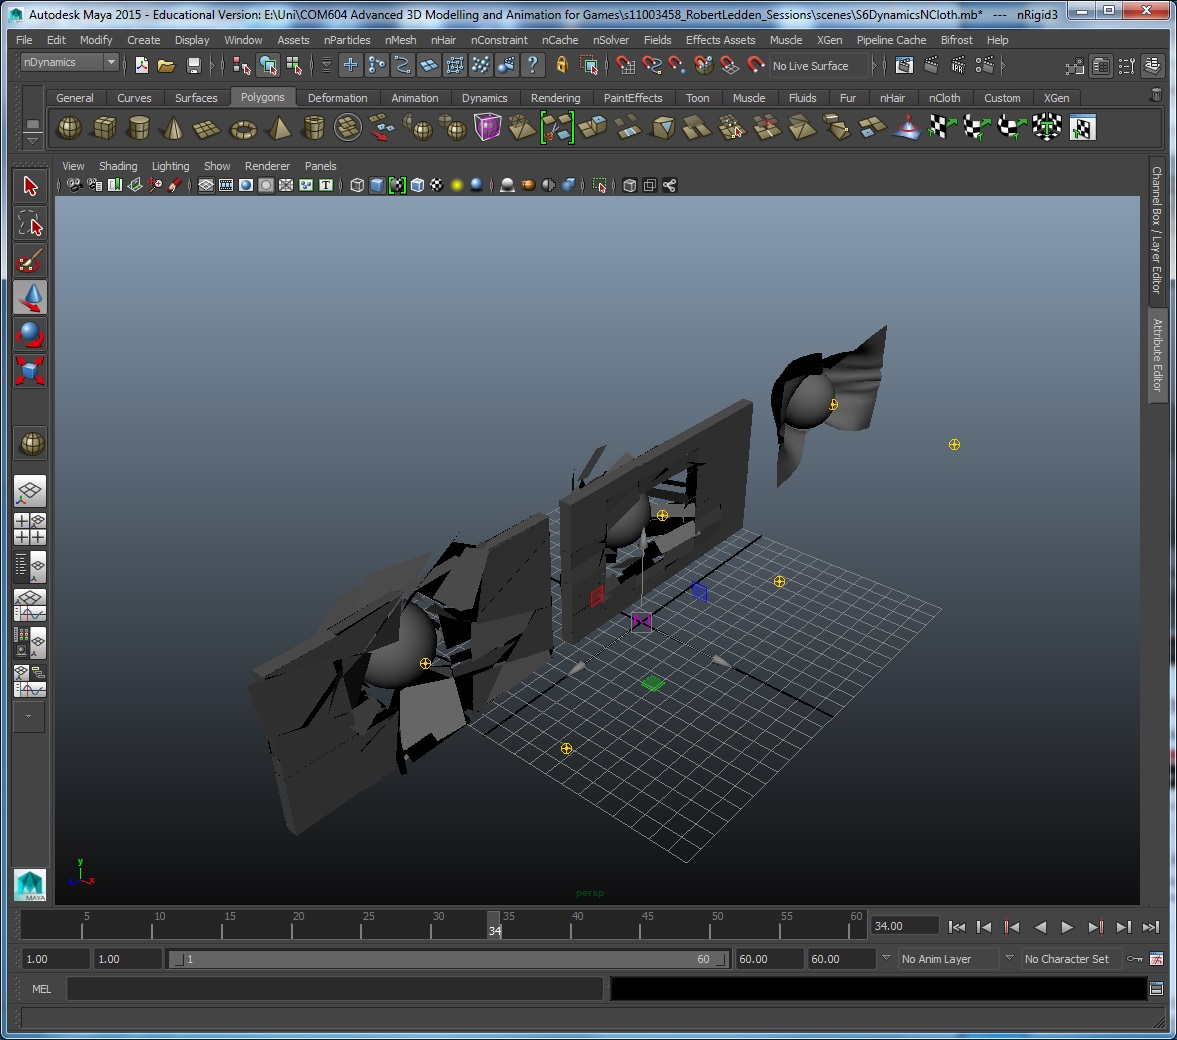
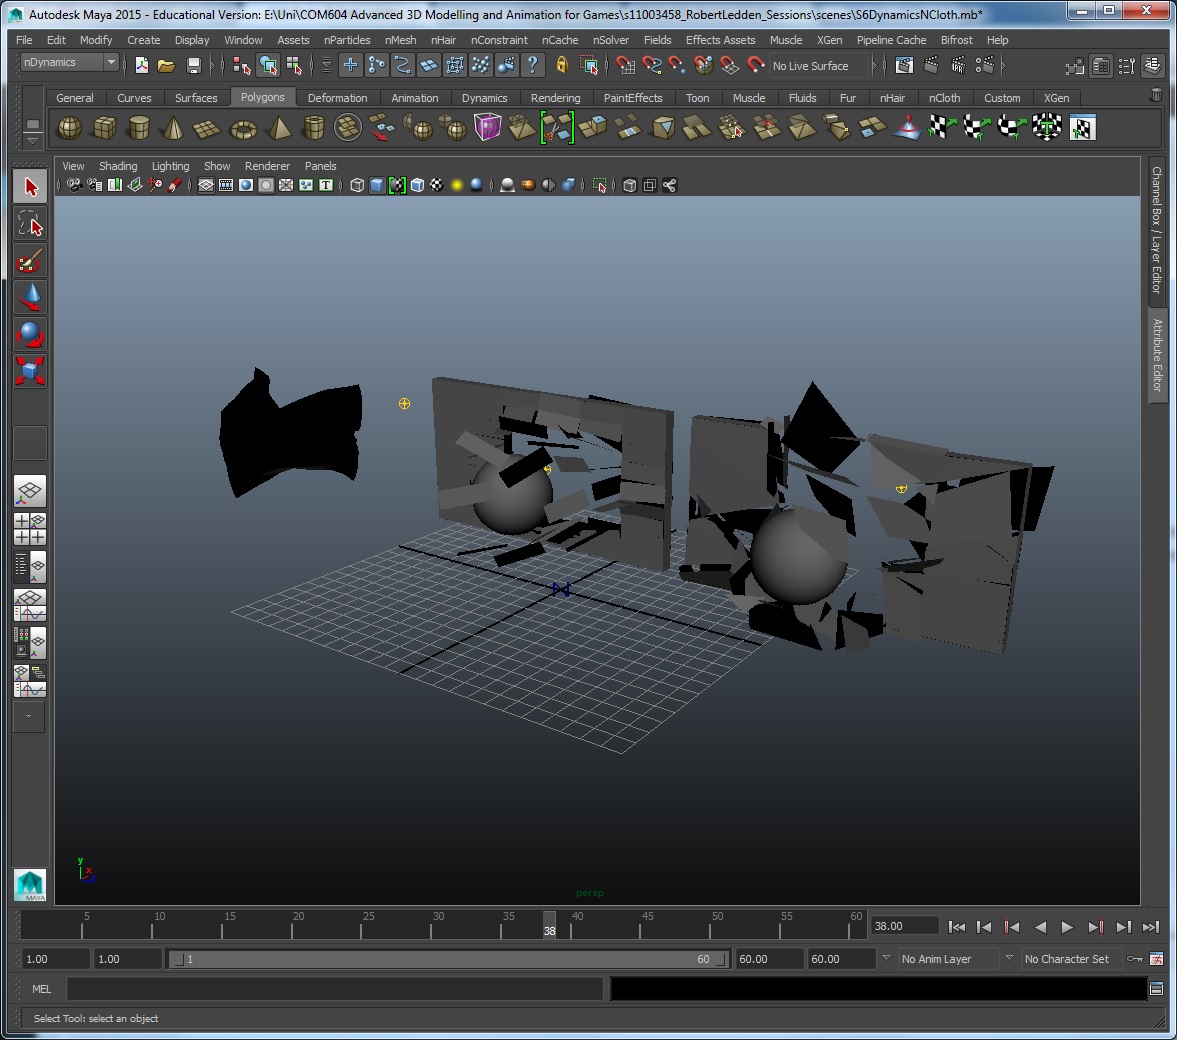
This session was looking into nCloth dynamics, we looked at three different ways to use nCloth to achieve different effects, to start I created 3 poly planes then edited these planes differently, the first I used the cut faces tool to add faces and edges to the plane in a random way. The second plane I added subdivisions to it adding face and edges in a more uniform way, and for the third plan I also added subdivisions but more than the second plane.
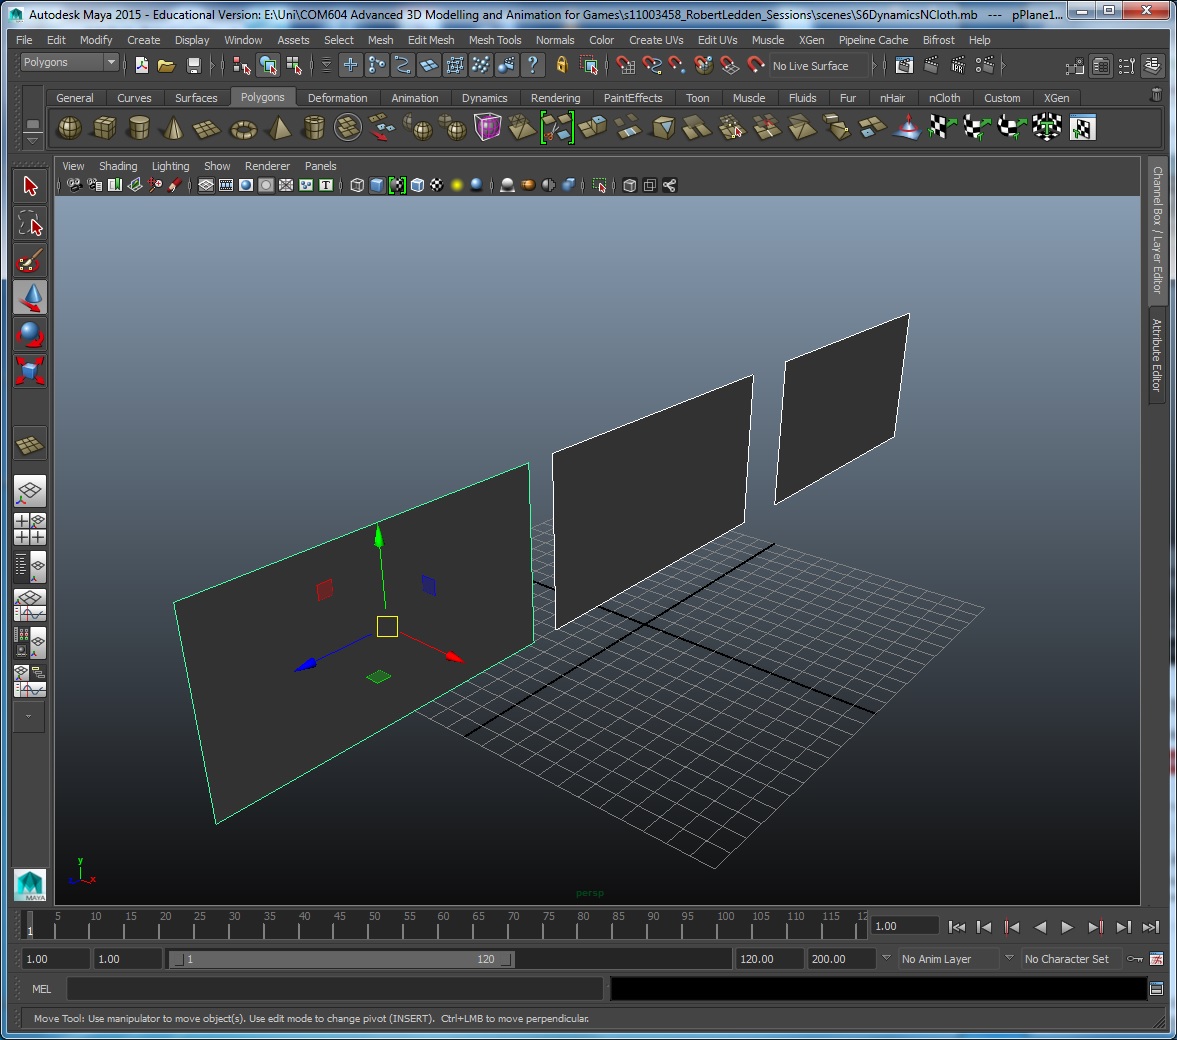
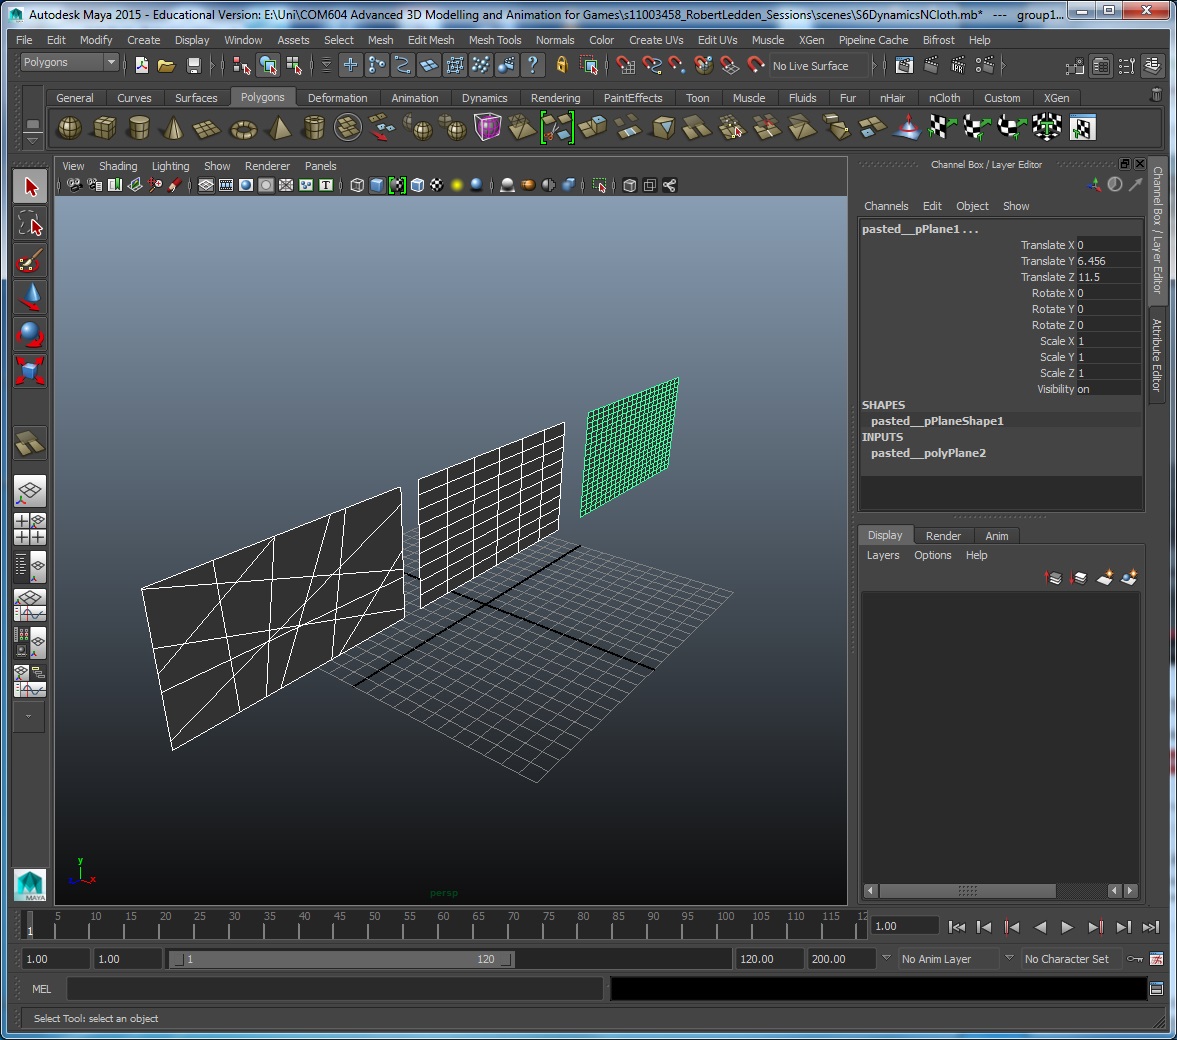
The next stage was to extrude the faces on the first two planes to add depth to them, but not the third with the higher number of subdivisions.

The next step was to separate the faces of the first two planes, this was done by selecting the edges and using the detach tool. with this done the next step was to add some sphere that would collide with the planes, these spheres are animated so they travel from one side of the scene to the other passing thought the planes, at the moment there is ot reaction because they nCloth has not been added that is the next step.
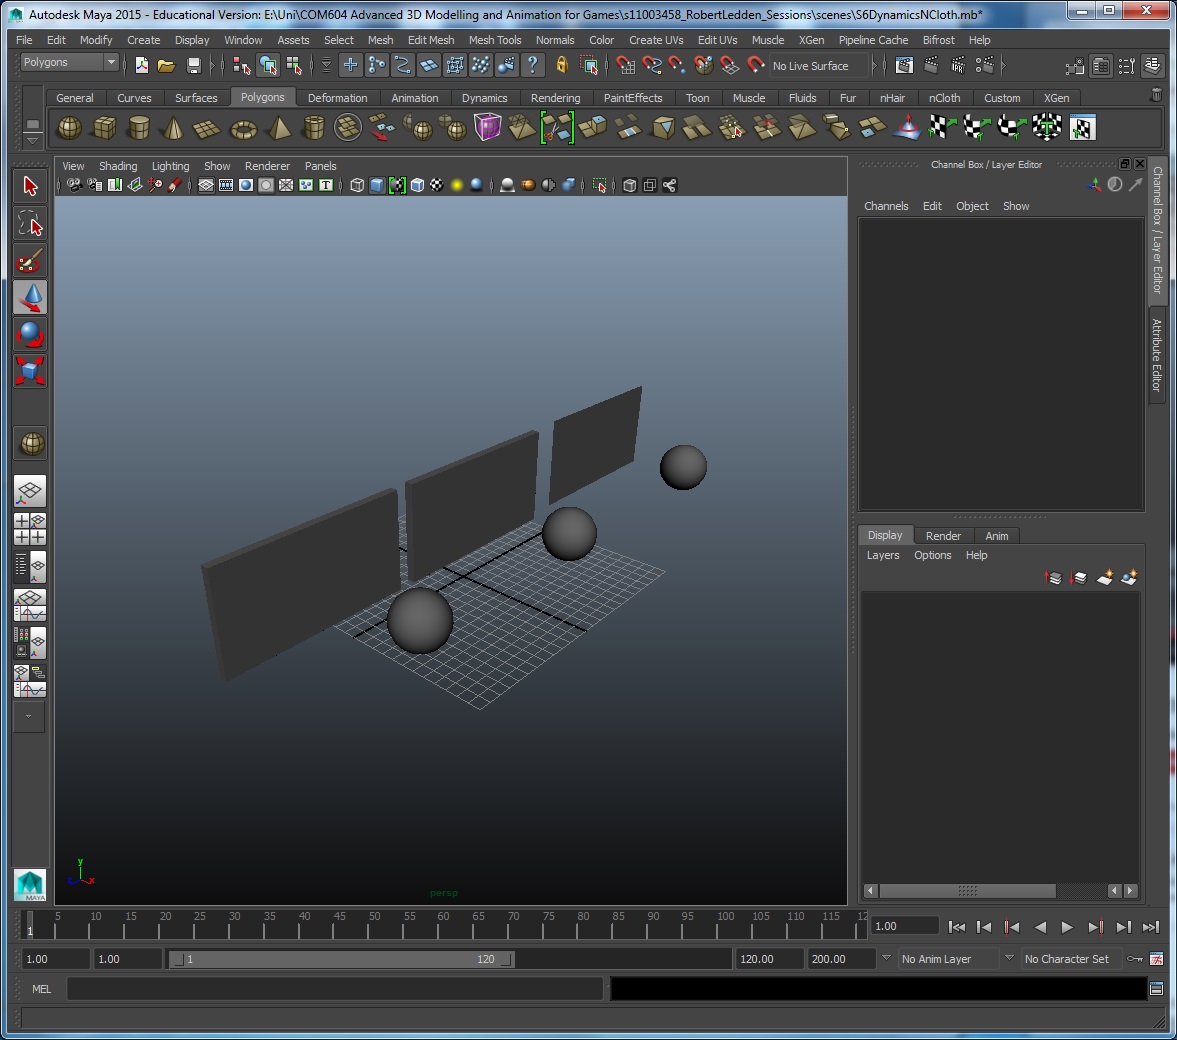
Adding nCloth to the planes is as easy as using the nCloth tool, its the set up that we had done previously that gives the different effects to nCloth, the first plane where we create a more random look by using the cut faces tool results in a plane that ‘shatters’ in random pieces and makes it look like it had broken apart. The second plane where we used subdivisions to create the faces results in an effect that looks like it has come apart into pieces. Finally the last plane where the faces were not separated hold together and create a cloth effect that wraps around the ball.