This weeks session is all about rigging, the task was to rig a human model and give it a working skeleton.
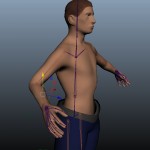
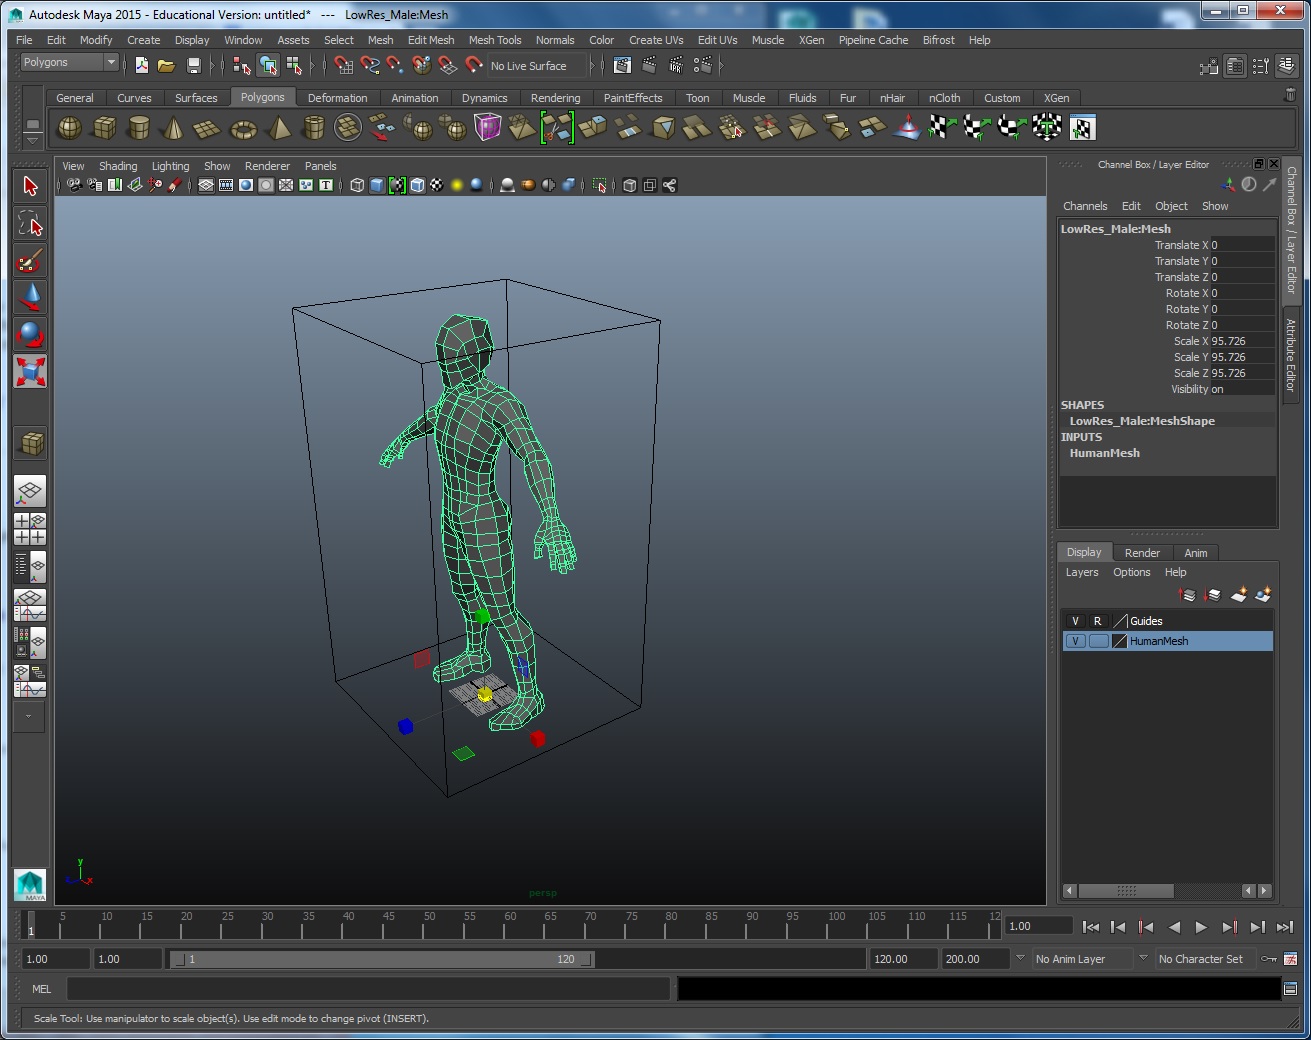
I start with a low poly human male mesh that was provided and then I resize it using a cube as a guide.
I set the cube size to 175 cm the average height of a male, then I resized the male mesh to fit within the cube.
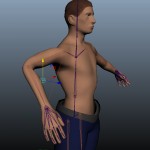
Once I had the mesh to the correct size I started with the rigging of it, I had open during this another project that had a already rigged mesh and used it as a reference for the my model.

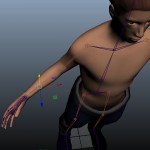
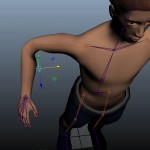
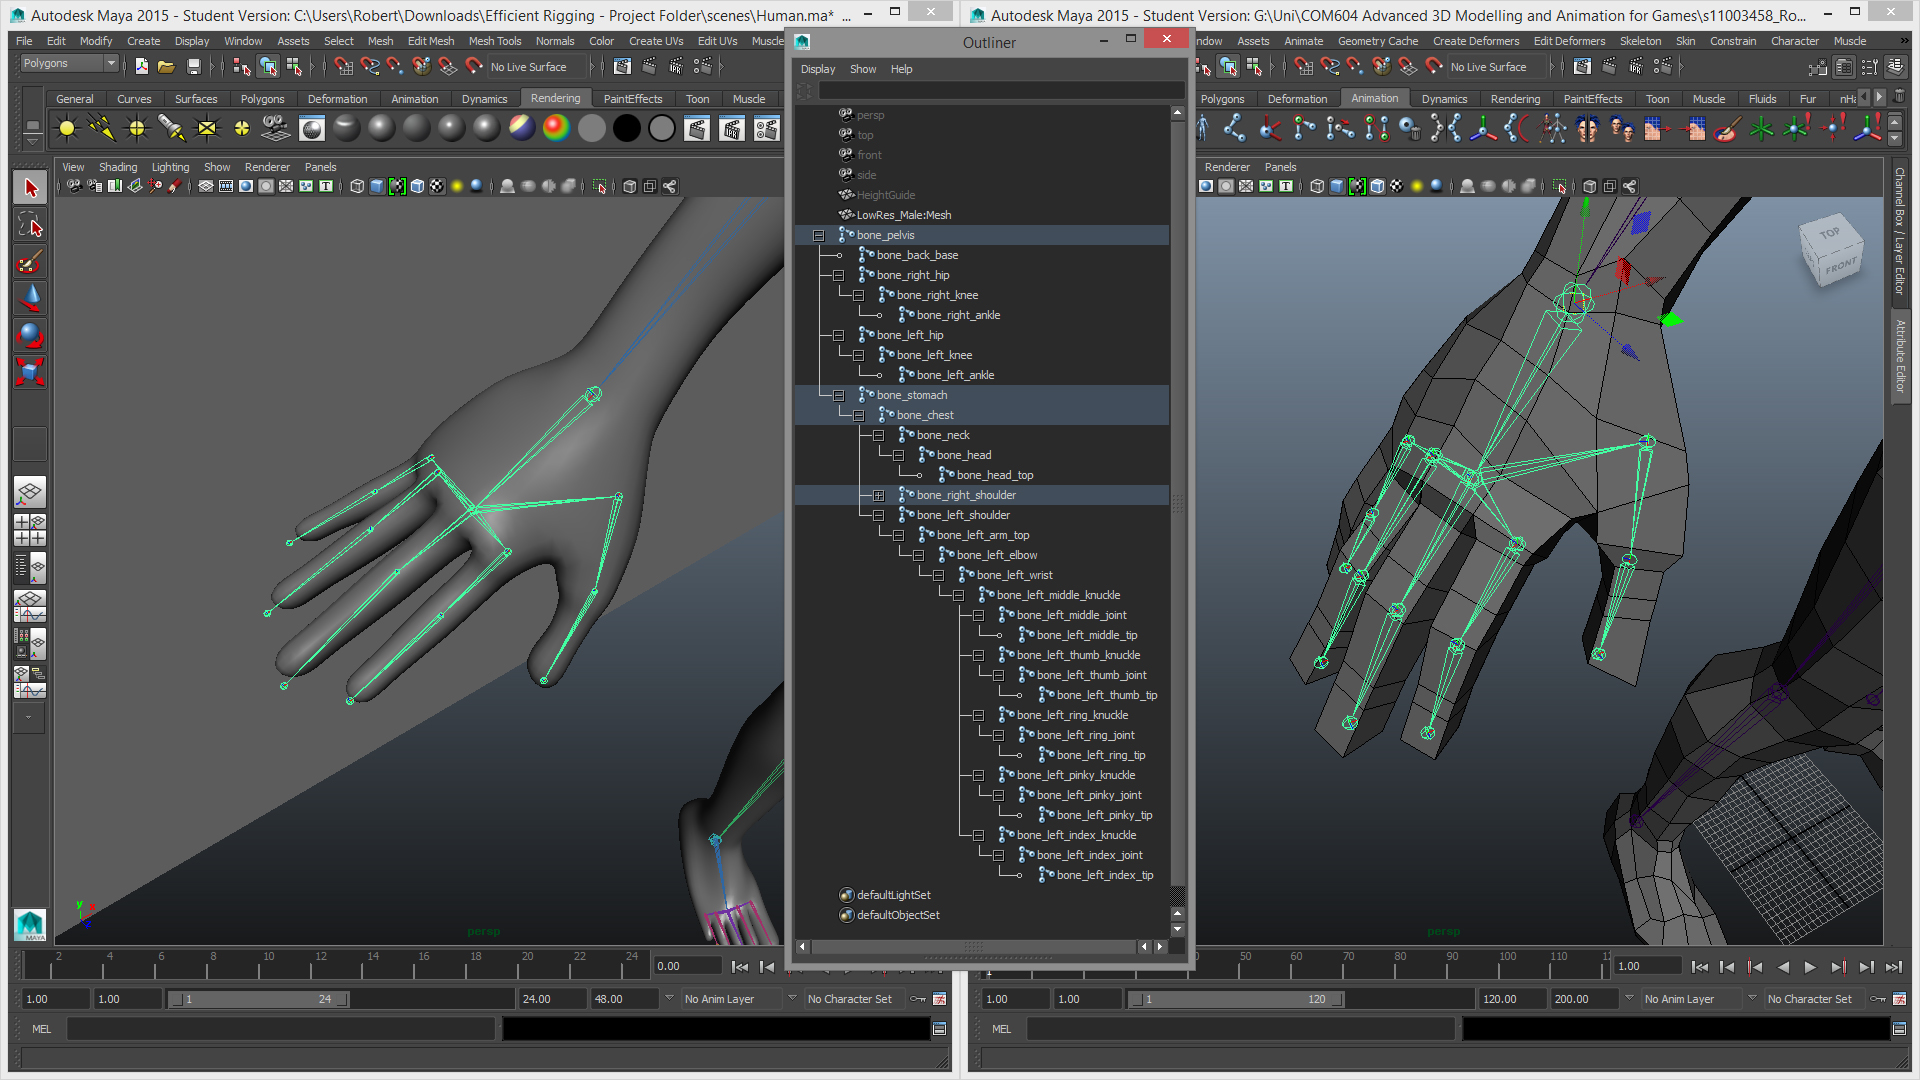
With the torso and limes in place I next moved into the hands to rig the fingers, and again I used the pre rigged project as a reference for this process, below you can see my rigged hand (on the right) with the outliner open showing the bones and joints of my model, including the torso, legs and left arm down to the fingers, the right arm has the same hierarchy and naming convention but is not shown.
Once the model was rigged it was time to bind the skin to the model, this was easily done with the smooth bind option, after this was done I used the Paint Skin Weights Tool to adjust how the joints affect the mesh this tool works by selecting the joint you wish to work on and then ‘paint’ the mesh, the area of the mesh that has been painted then effected by the joins movement.
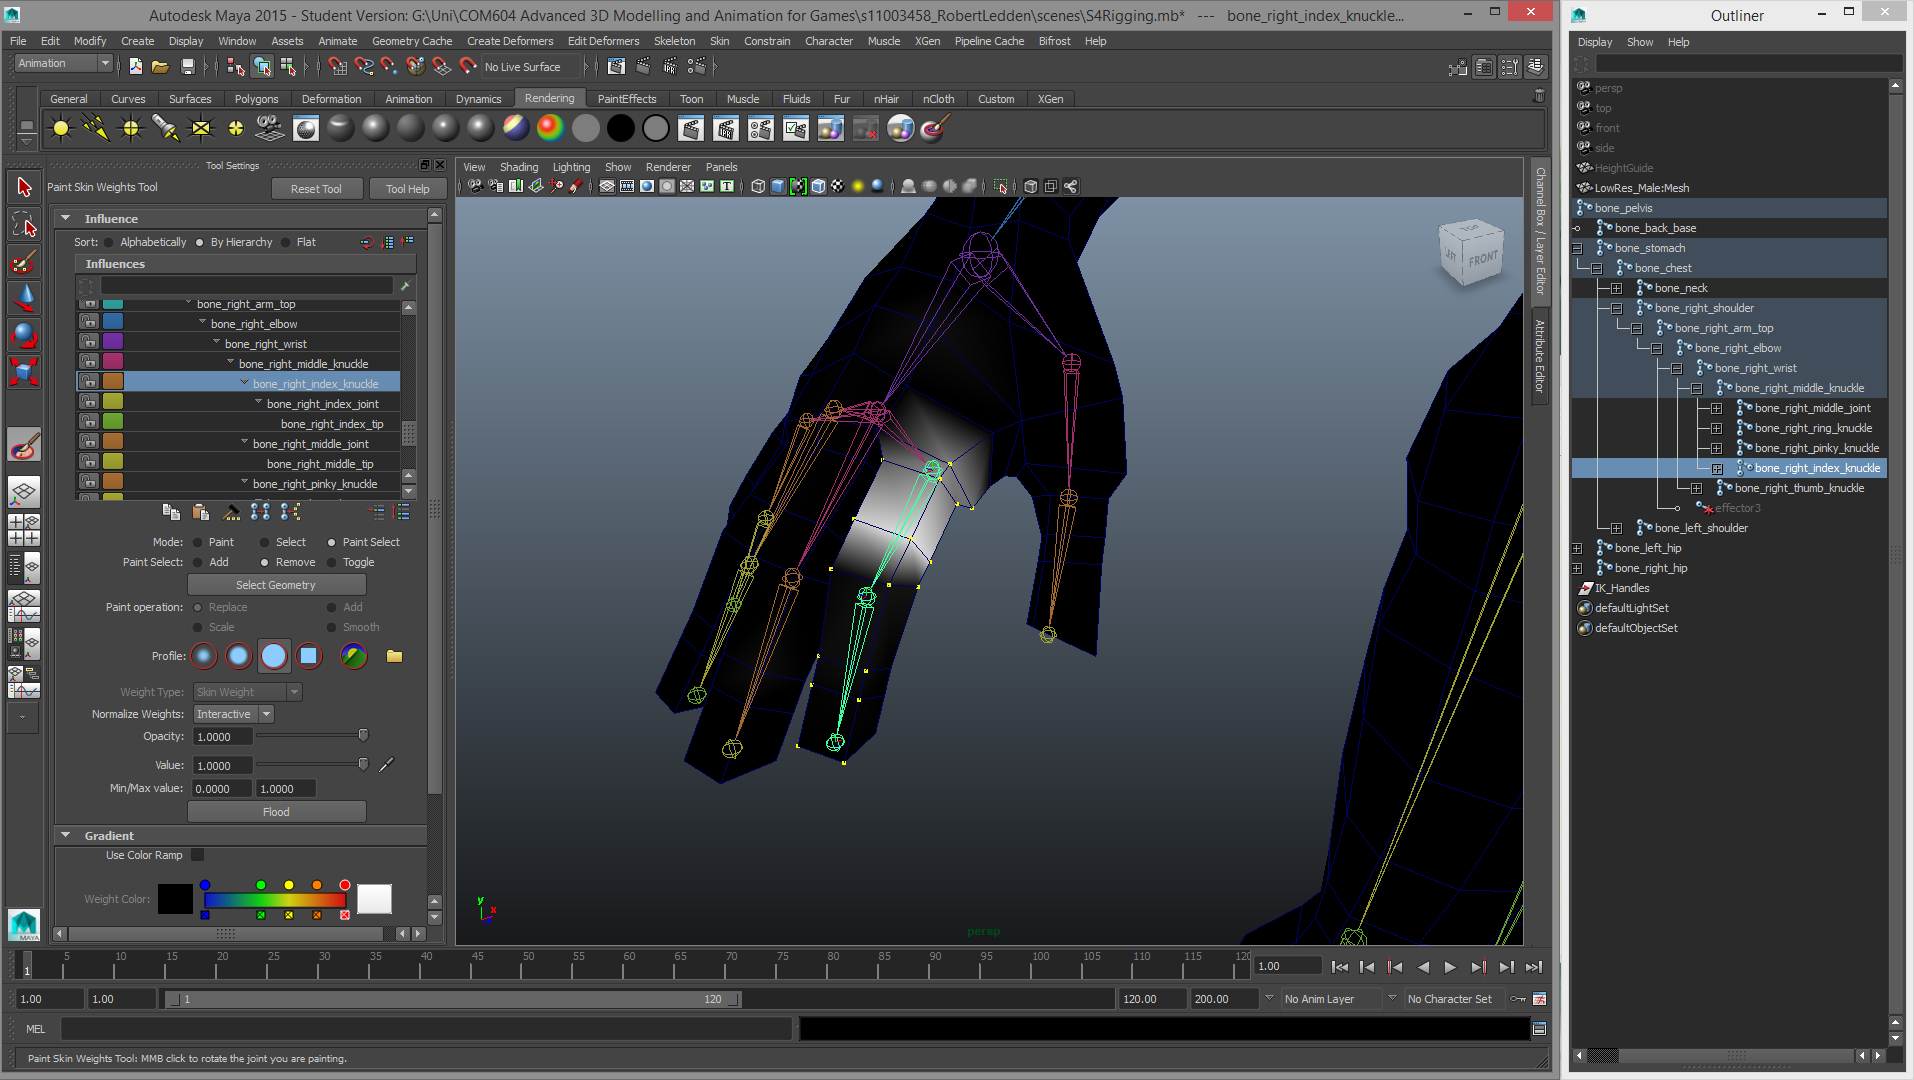
This next part I was not able to complete on the model I had started with for this session so I achieved the next part using the model I used for my assignment. One of the reason I couldn’t do this with the old model was because I didn’t set up the joint correctly before weight painting and when it came to adding the IK joints the legs would bend the wrong way and the arms would ‘flip’ when animated into certain positions.
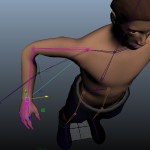
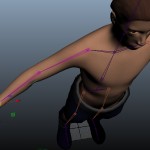
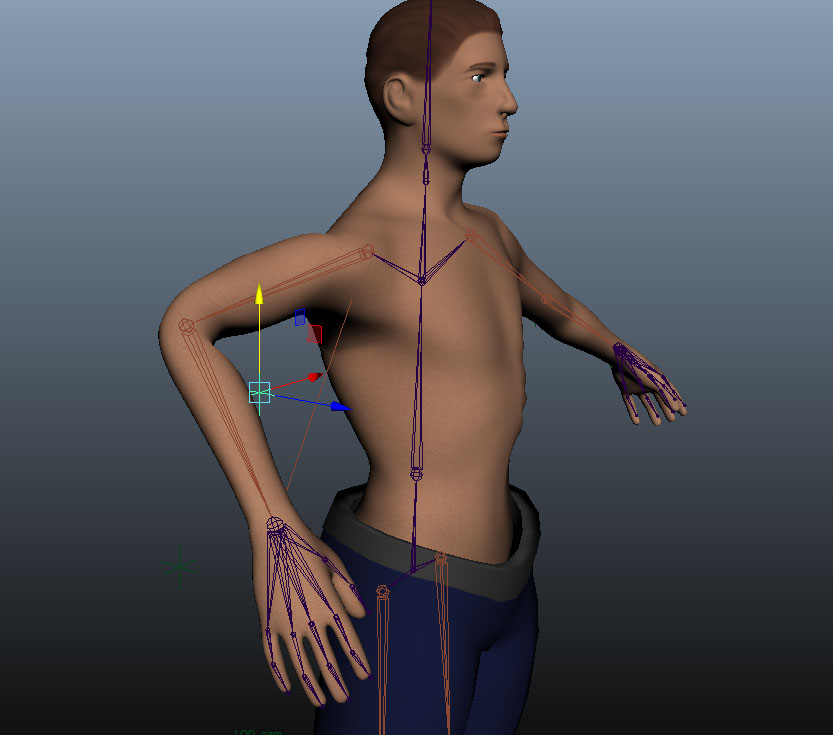
With the new model I created from my assignment I created the skeleton and set up IK handles before binding the skin. Adding a IK handler to a skeleton is as easy as selecting two joins and using the IK handle tool, the trick is to set up the orientation of the joints so that the limbs bend the correct direction so to avoid the problems I was facing with my first model.
Following the guidance in THIS video I set the joints up so they would bend correctly by setting all the orientations to 0 and adding a prefered angle to the bend in the limbs. I also added a Pole Vector constraint that would add even more control to the limbs of the skeleton, below is the model after I bound the mesh to the skeleton and did the weight painting