To welcome us back to 3D modeling in year 3 our first task was to familiarize ourselves with Mudbox again so there were 3 tutorial documents we needed complete, I will cover the work I did for all 3 of those tutorials in this post.
The first tutorial was simply to look around the UI and learn how some of the tools worked by testing them on a new mesh.
I started by creating a basic mesh using the lizard preset and started sculpting with the tools to get a feel of how they worked, nothing I hadn’t already done last year but was useful to refresh my knowledge.
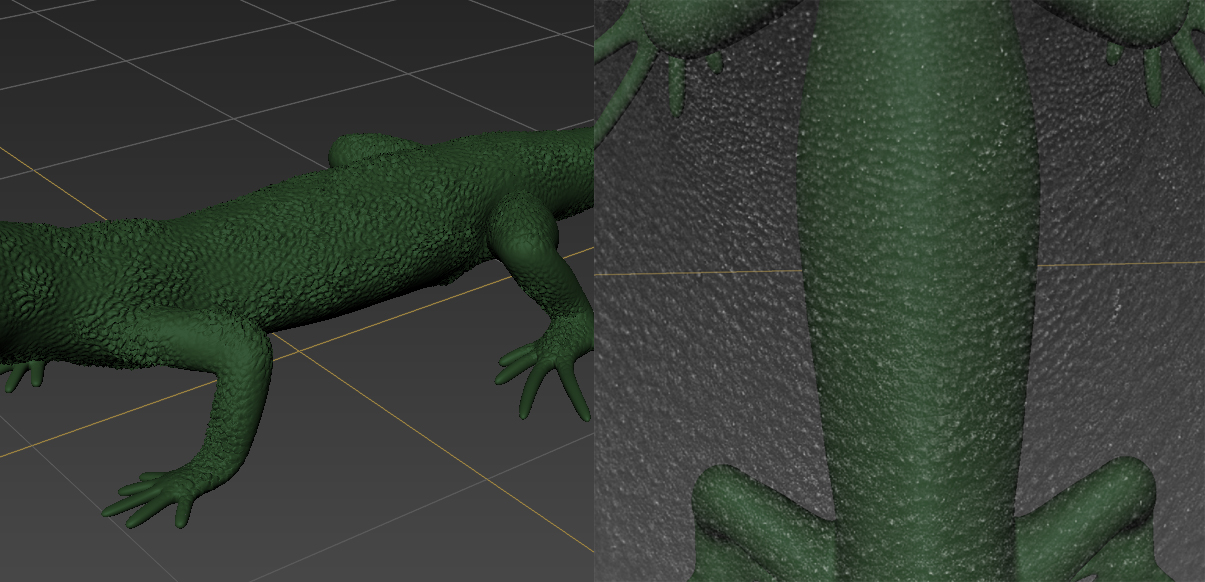
The second tutorial was a detailed sculpting task where we needed to create as detailed as possible lizard model using the the basic lizard preset as a start.
This tutorial introduces Layers that I haven’t used before, they work by allowing you to add detail to a mesh without altering the original mesh, all the changes made are limited to the Layer.
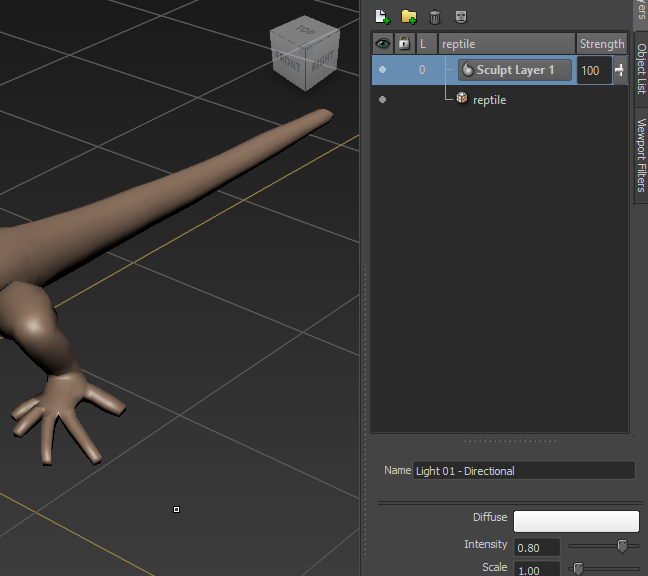
This layer can then be hidden to hide the changes made to the mesh on that layer, or the layer can be deleted to easily remove the changes made to the mesh.
I also make use of Stencil while sculpting to add detail to the from the pattern in the stencil and I also change the colour of the material better match that of a lizard to make look and feel of the lizards skin.
For Tutorial 3 I work on the default human mesh to add definition to the model to define the various muscle groups, so to start create a new sculpting layer to and got to work defining the muscles, I used the bulge tool to add mass to the mesh then using the sculpt tool to create definition.
*Problem with human mudbox file, need to fix*