
Texture Mapping
The first part of this weeks task was to create enhanced texture bases for use on a single geometric shape, I chose to do this by recreating a Minecraft block.
I chose to recreate the larva block, to start with I searched for a larva texture that I would use for the diffuse map.
At first I chose to create a more detailed version of the block and wanted to start with higher resolution texture, so after searching I found this texture.
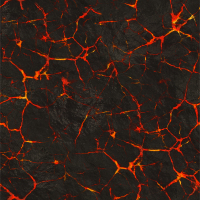
Source: Mavrosh-Stock
Once I had the texture I started by trying to create the normal map for the object I tried doing this using a plugin for Photoshop provided by Nvidia Here using this tool I create a normal map and then applied it onto the object but did not have satisfactory results so I scraped this texture and started again.
This time I went more simple and stuck to the original blocky theme of the Minecraft block, I searched and found this texture from a user made texture pack and decided to work from that.
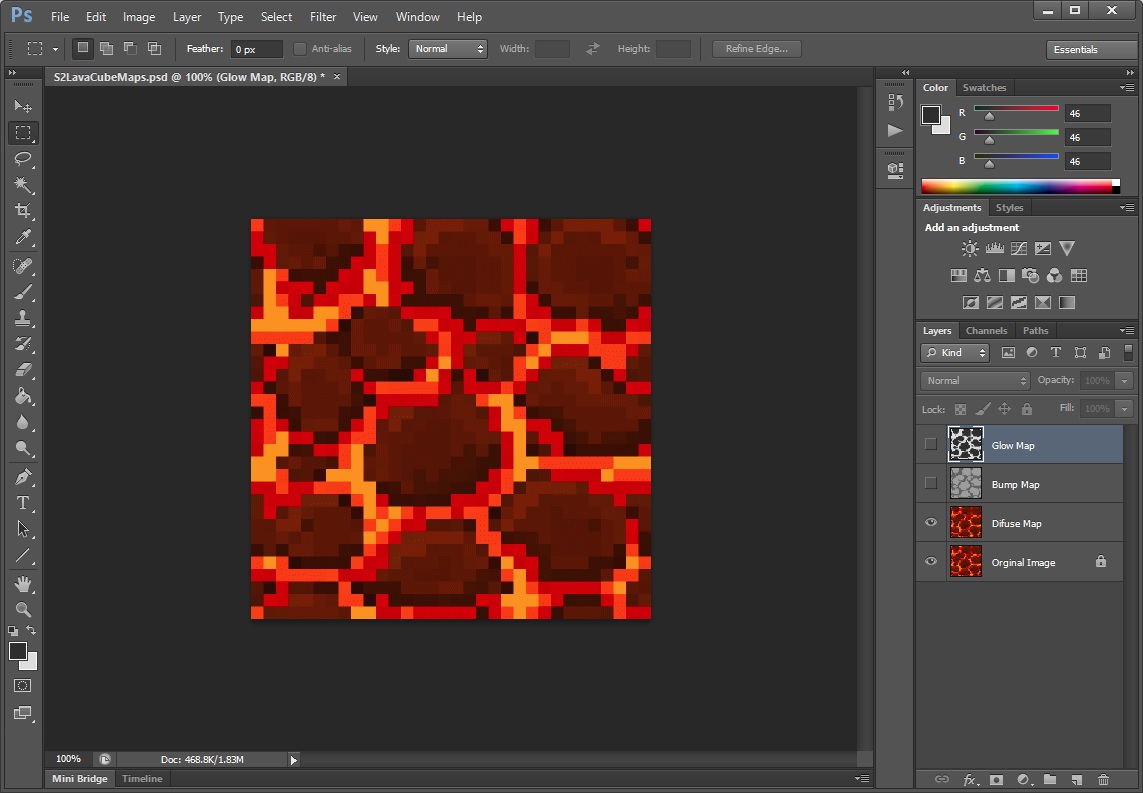
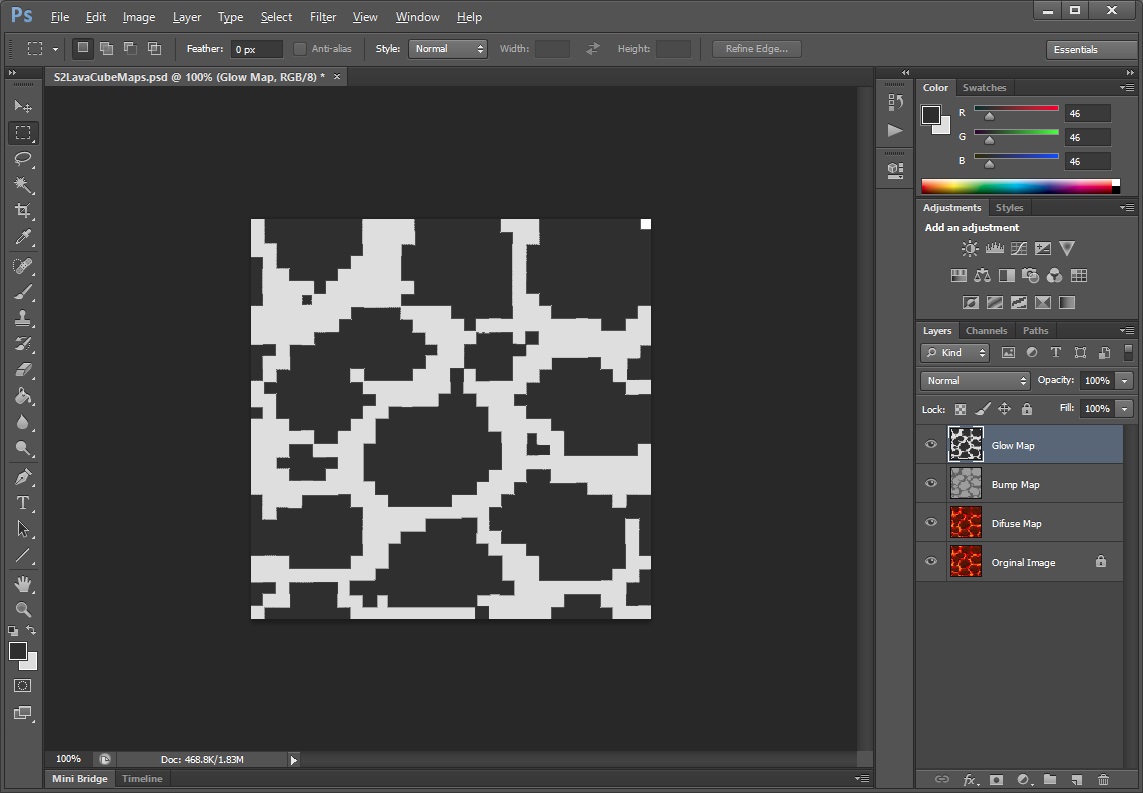
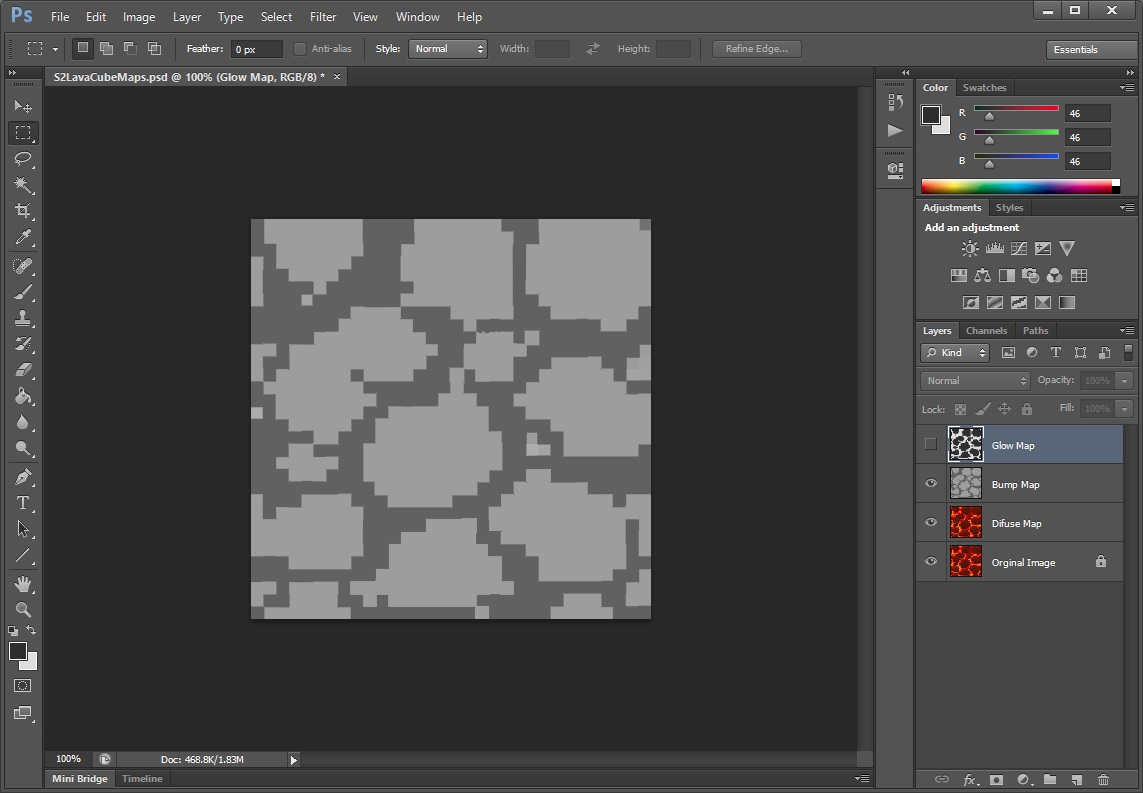
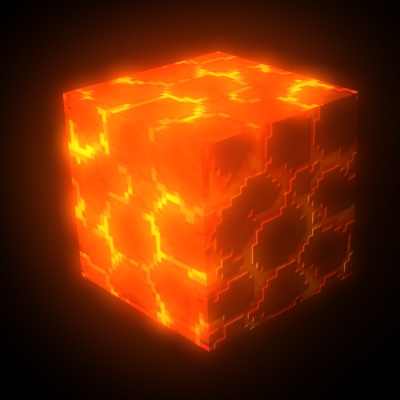
With this texture I didn’t try to use a normal map and create a simple bump map, and I also created a glow map that would illuminate the ‘hot’ parts of the texture, below are the textures I created .
Once I had all the maps I added them to a cube, and below is the final results once it has been rendered so it shows the effect of the glow map.
Blending
The second part of this weeks task was to blend together different models to create a transformation from one shape to the other.
I started with the default human head preset in mudbox and create two sculpt layers and create a ‘Good’ and ‘Evil’ head on these layers, I then exported these layers as separate objects into Maya.
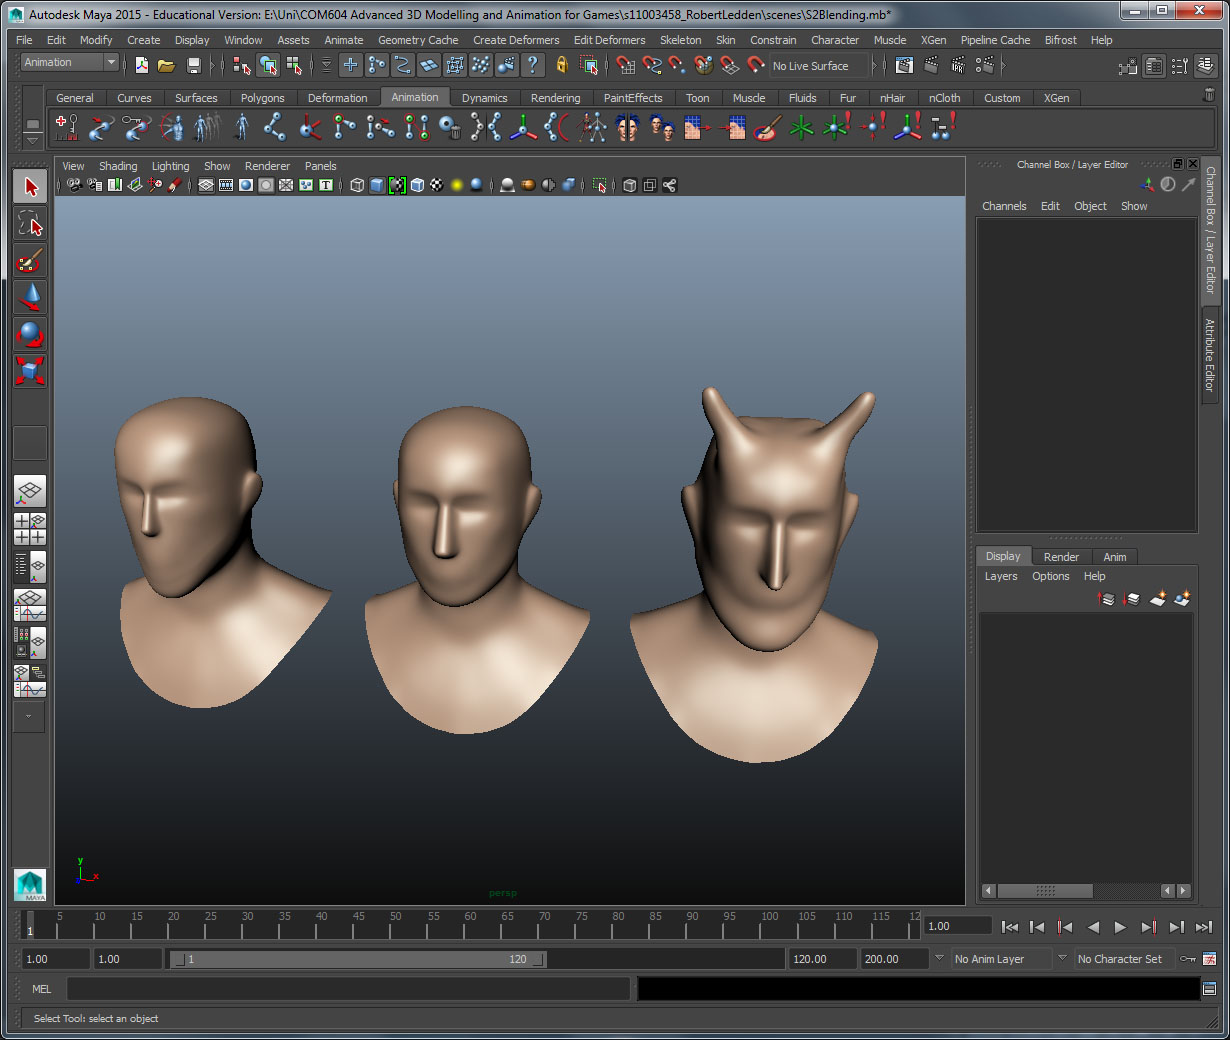
Once in maya I was able to use the Blend Shapes Tool to create the transformation, I select the two shapes I wanted to transform into and the shape that I want the transformation to happen on last then apply the tool.
With this task done I create a simple animation that has the the base shape transform from the ‘Good’ face to its neutral face and then onto the ‘Evil’ face. This is done by using keyframes and altering the attributes of the blendshape.
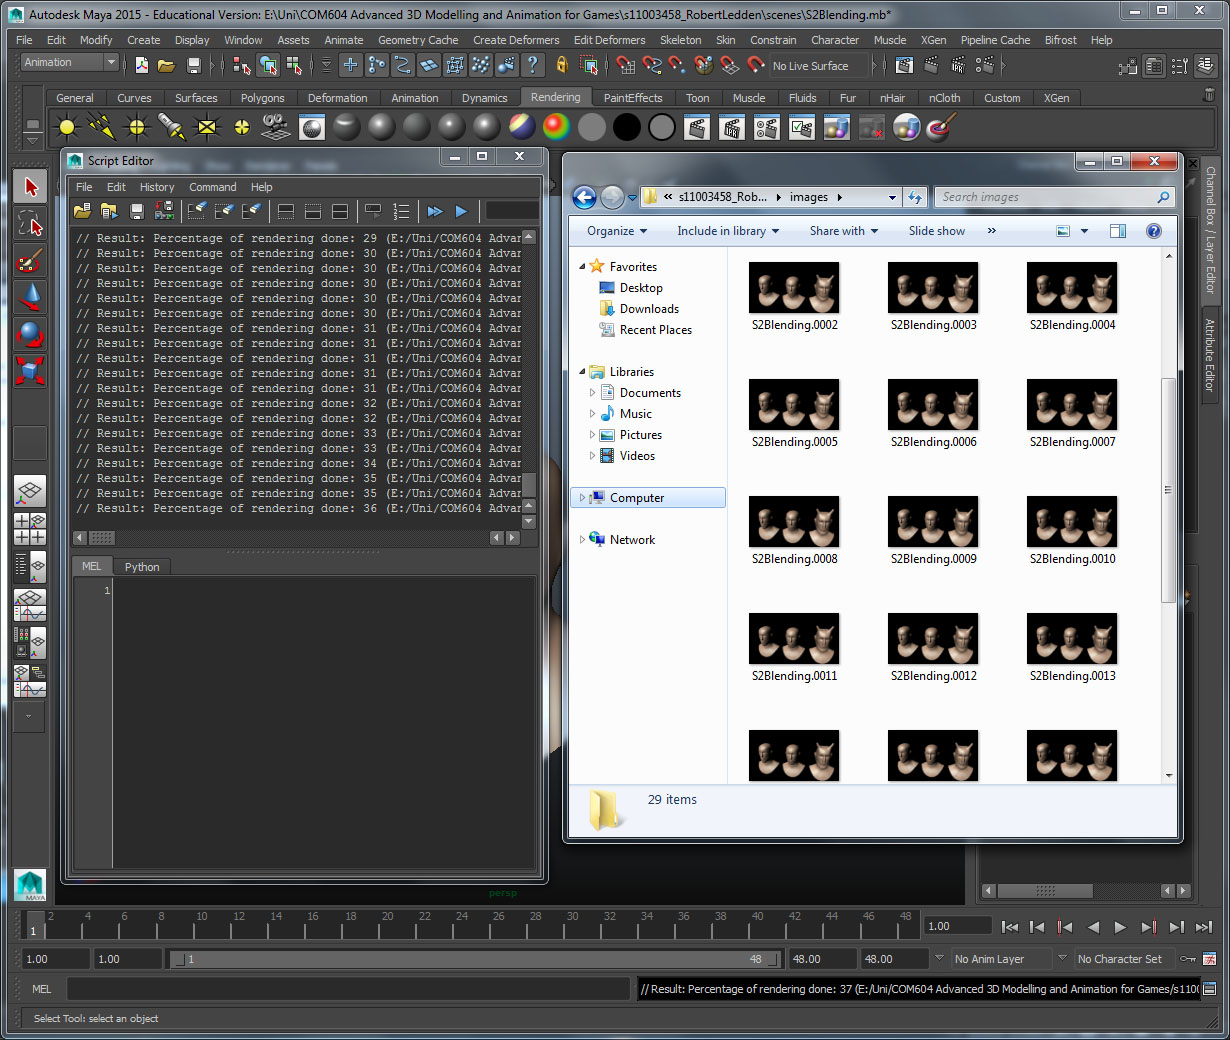
I then batch rendered out this animation into individual frames that I can edit together a video.
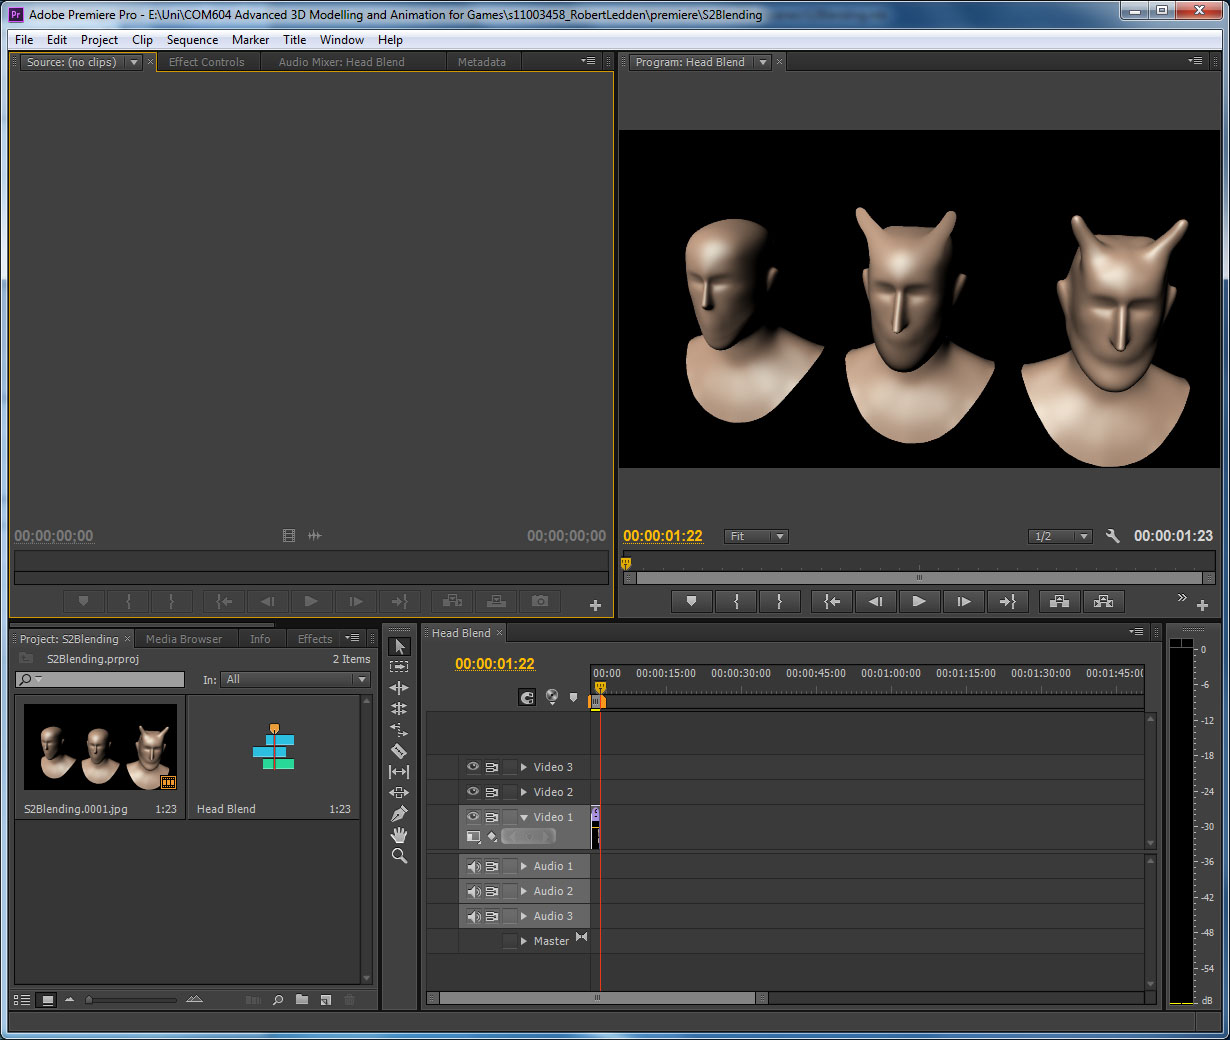
With the frames rendered out I use Adobe Premiere to create a video, Premiere always me to import the images as a sequence, meaning all the frames I rendered out of Maya can be imported in one go and then Premiere will automatically assemble these images together into a video.
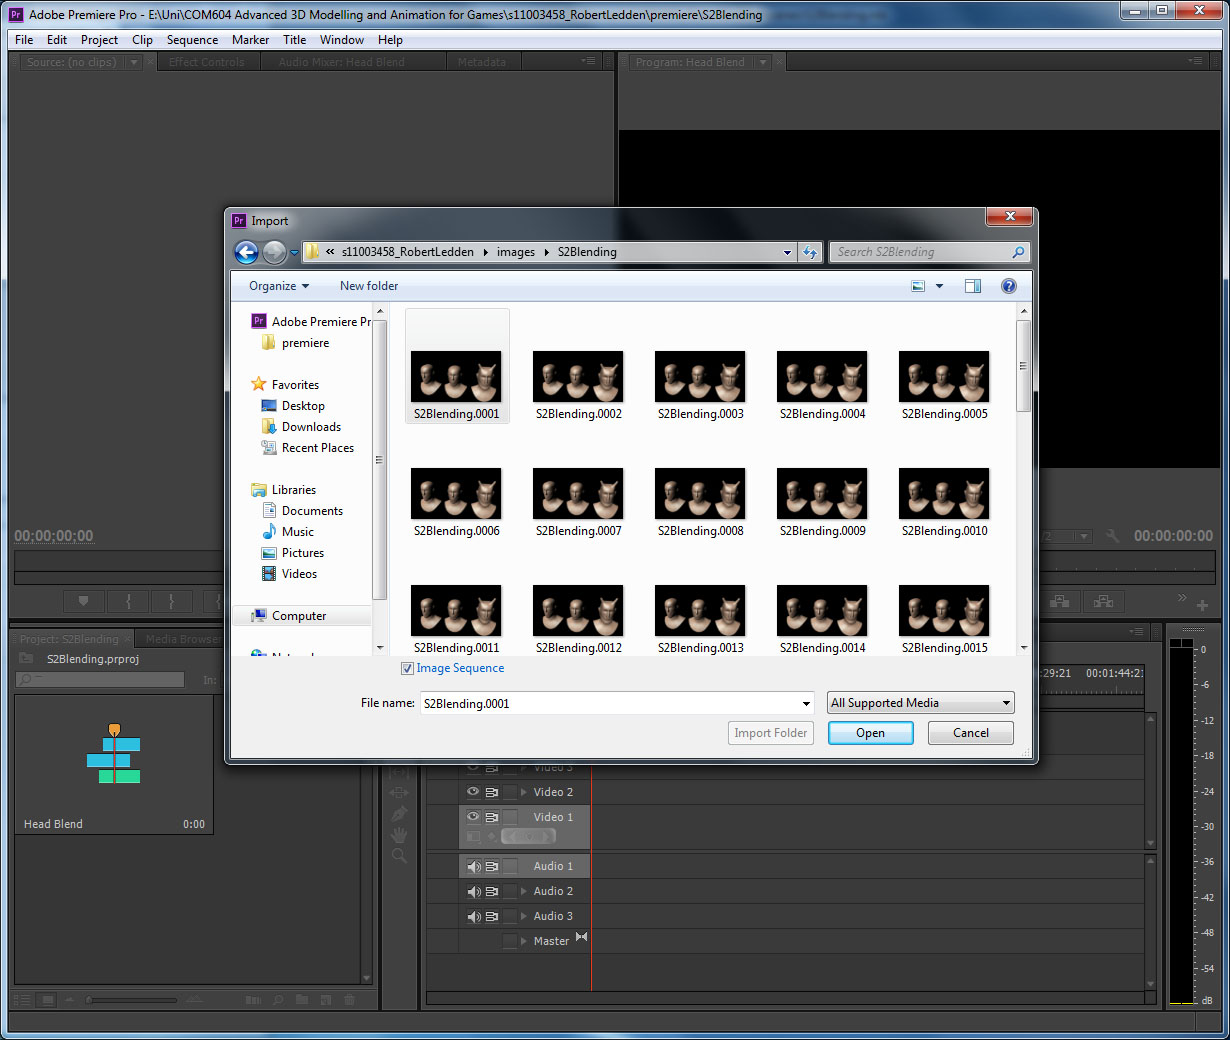
With the images imported as a video sequence I then add that onto the timeline in Premiere and that is all that needs to be done to create a video from the images exported from Maya.
I then export the video from Premiere to create the video that can be seen below.